Sydney Harbour National Park: Middle Head to Bradleys Head – New South Wales, Australia
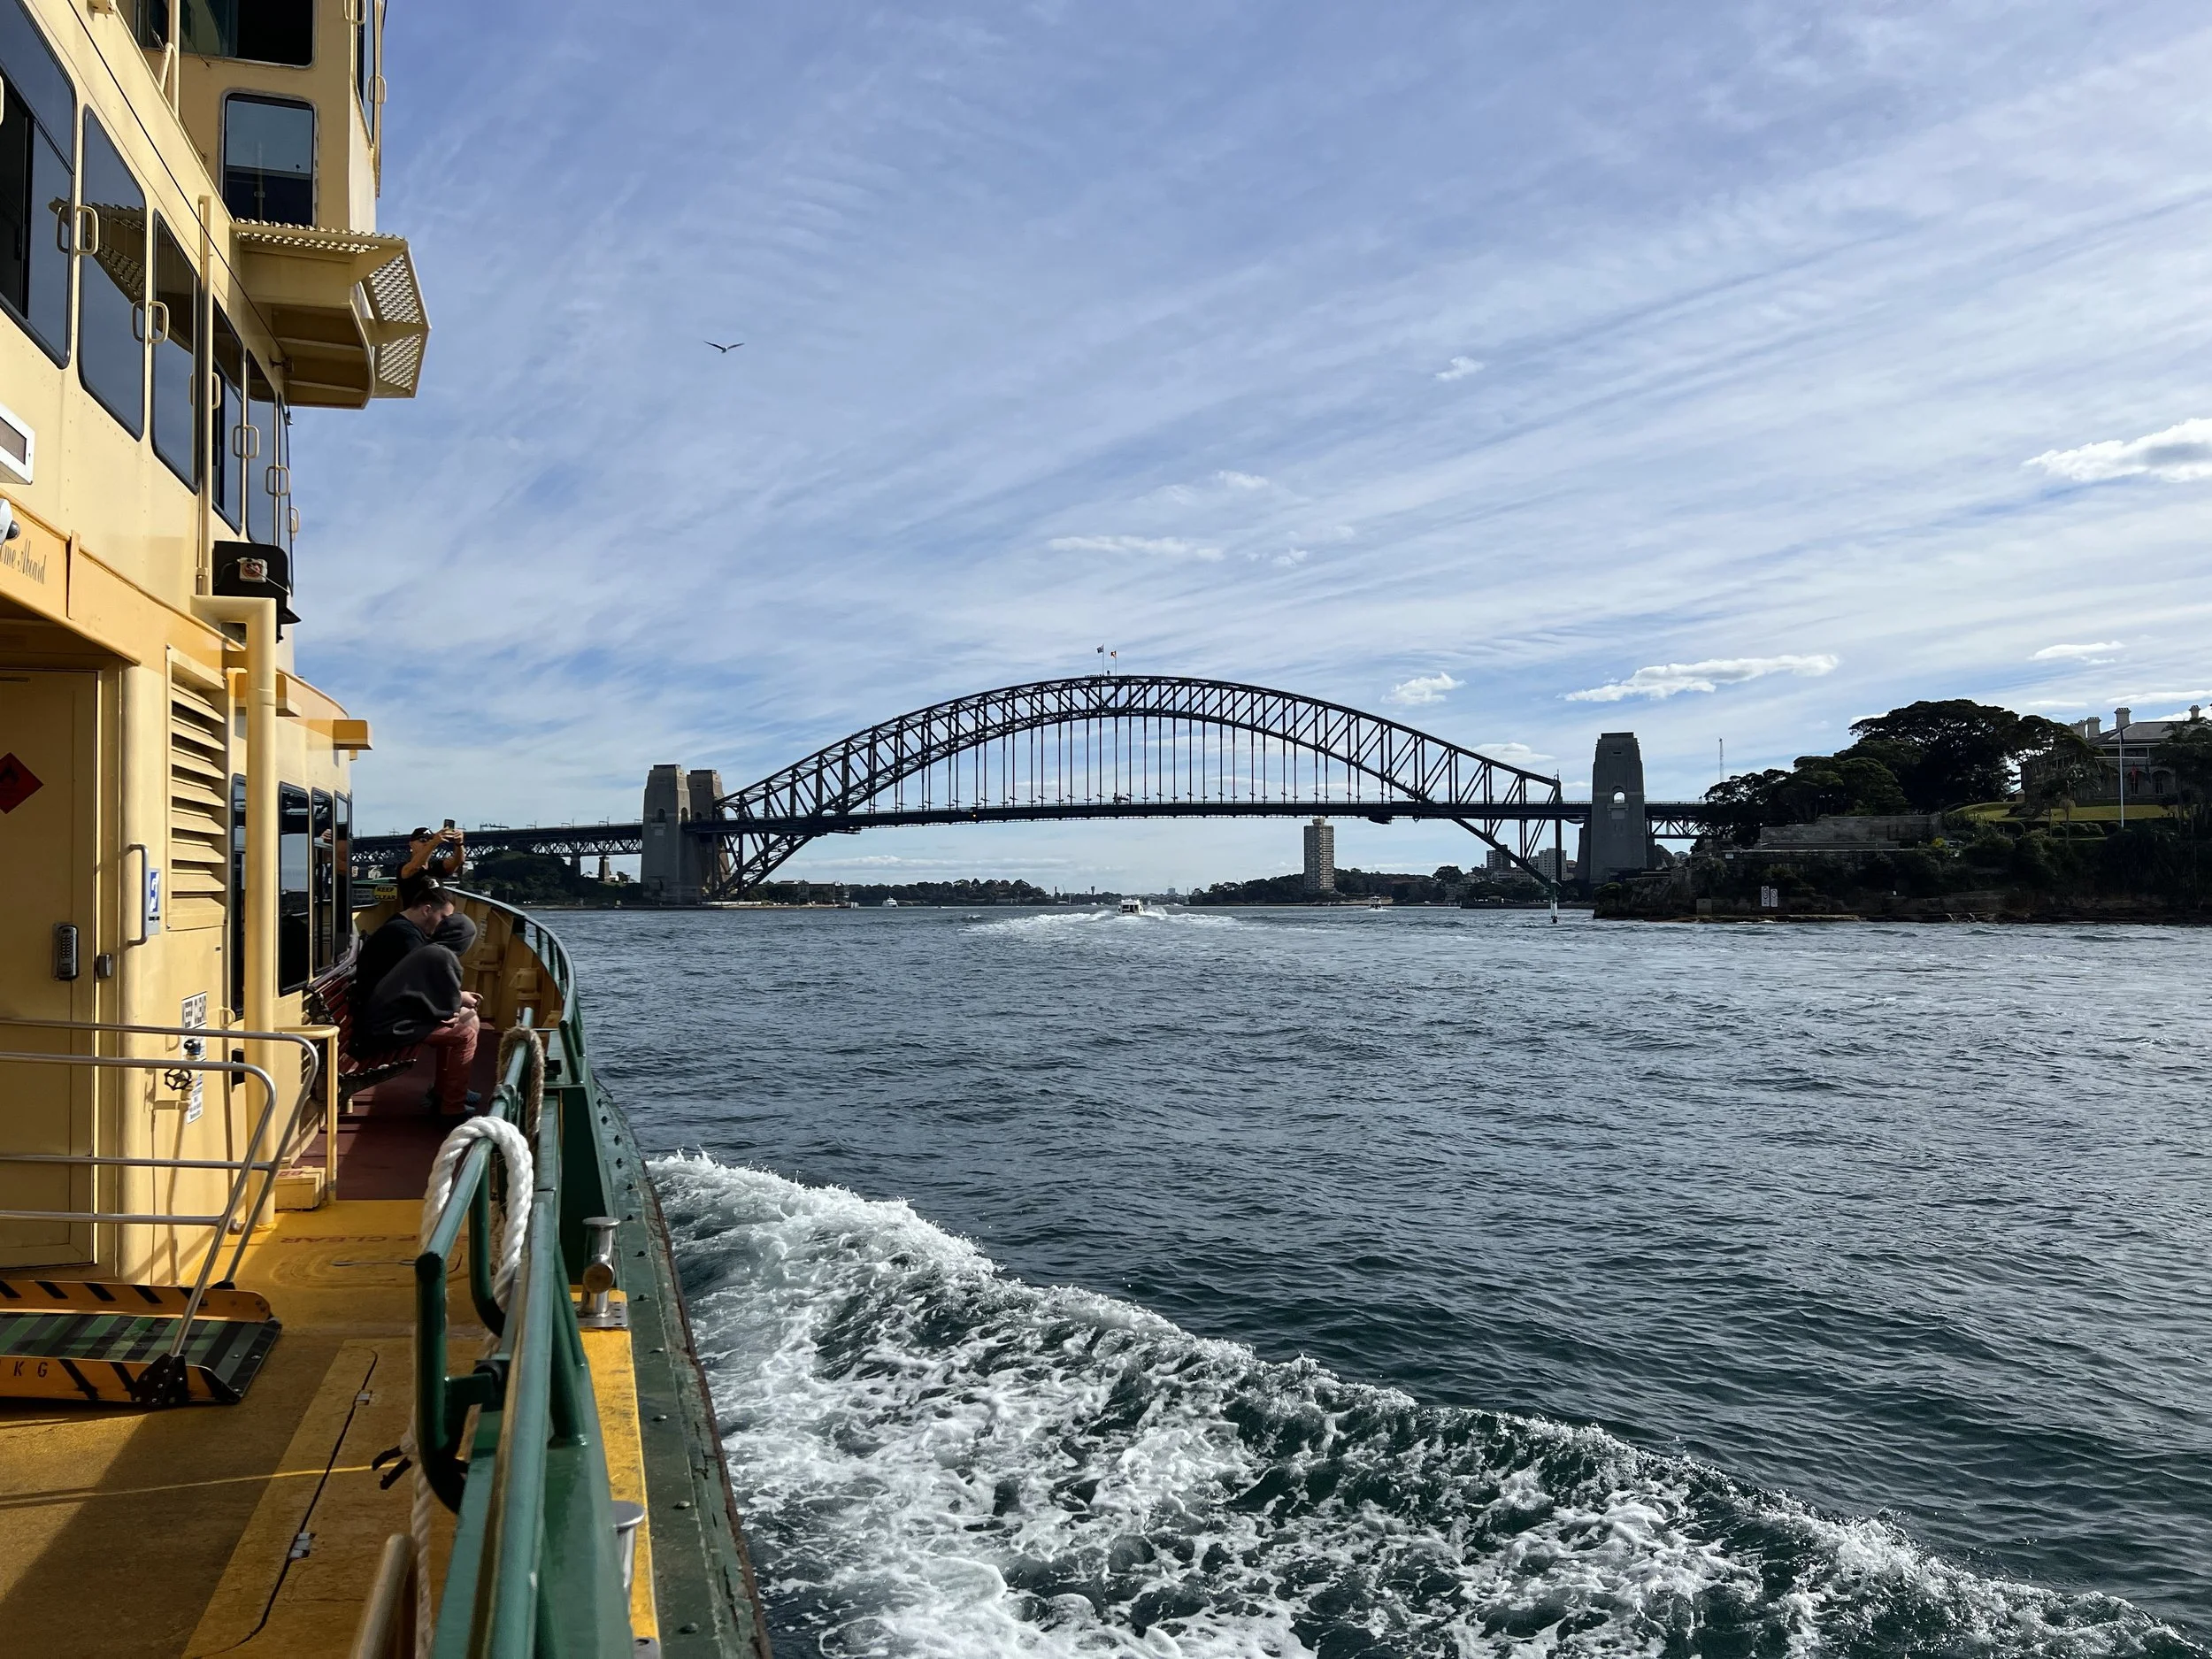
Day three of my Sydney Harbour National Park exploration brought me to the final headland on my list: Middle Head. After spending the previous days wandering South Head and North Head, I was excited to see how this section compared. I started my morning by taking the train from Museum Station to Circular Quay and then hopping on the ferry bound for Taronga Zoo Wharf. Although I could have begun my walk from the wharf, I decided I wanted to approach Middle Head from Balmoral Beach instead. Luckily, the transport connections lined up perfectly that morning, so I transferred straight onto the bus without much waiting.
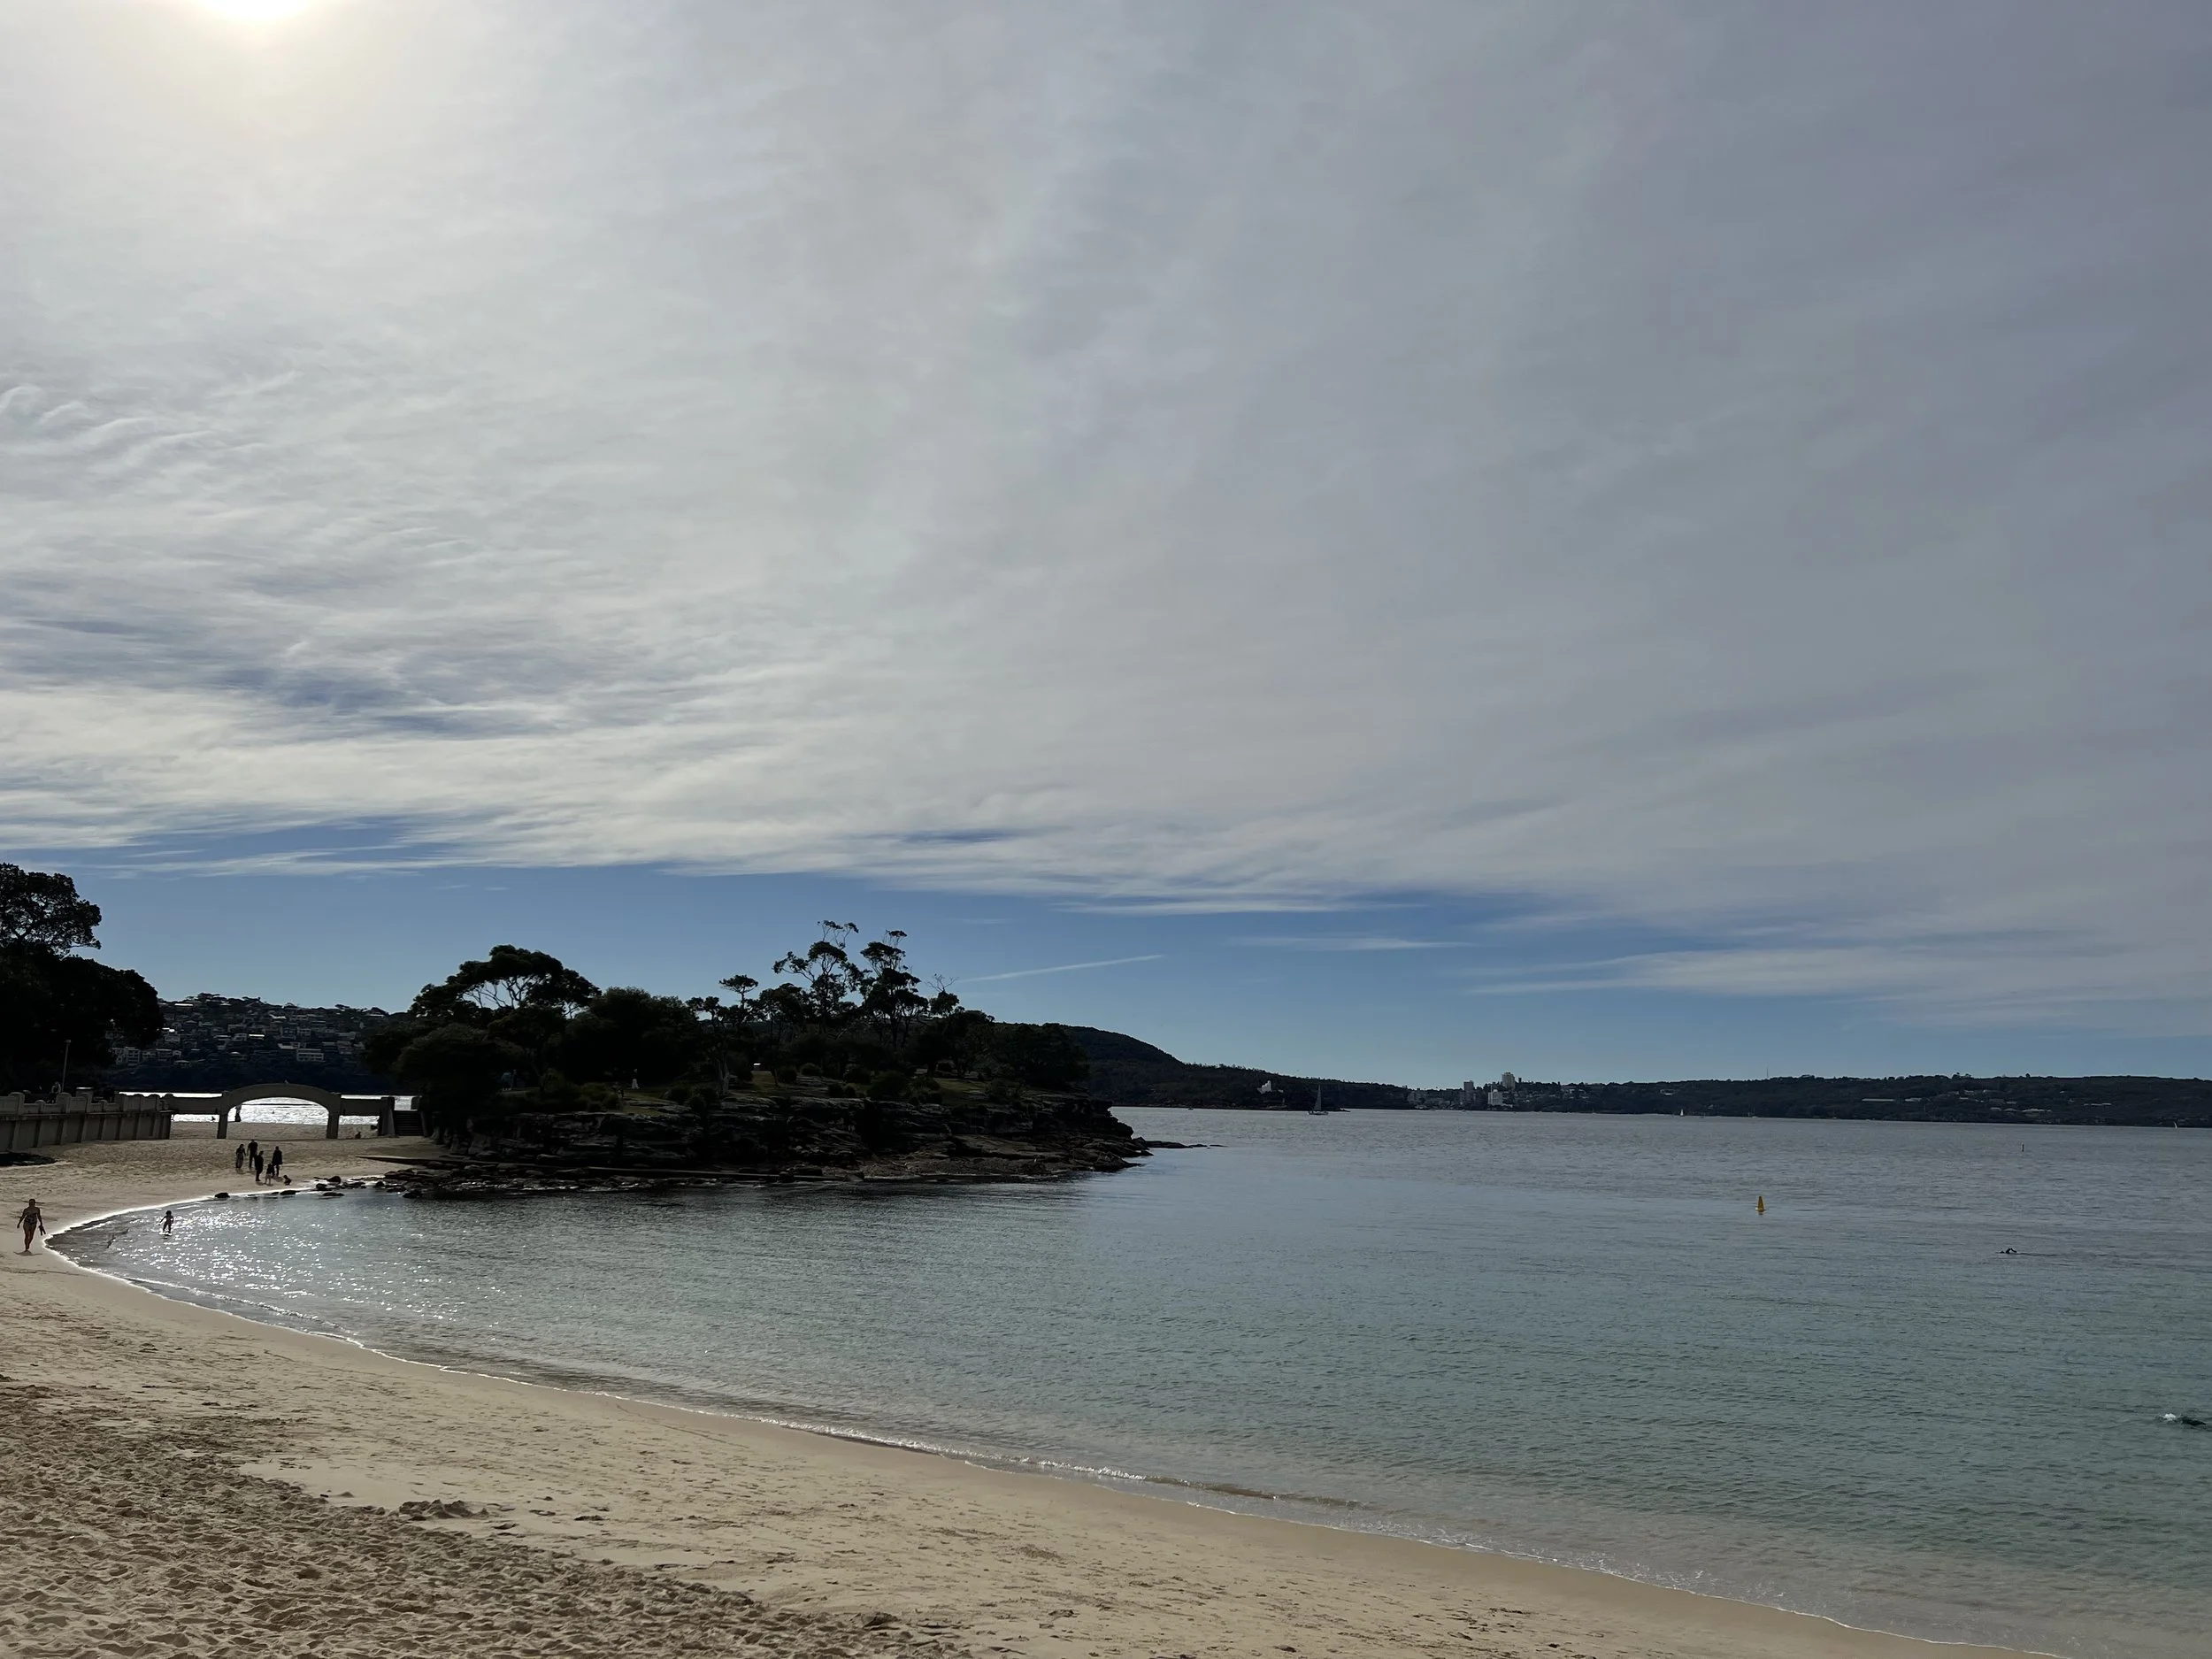
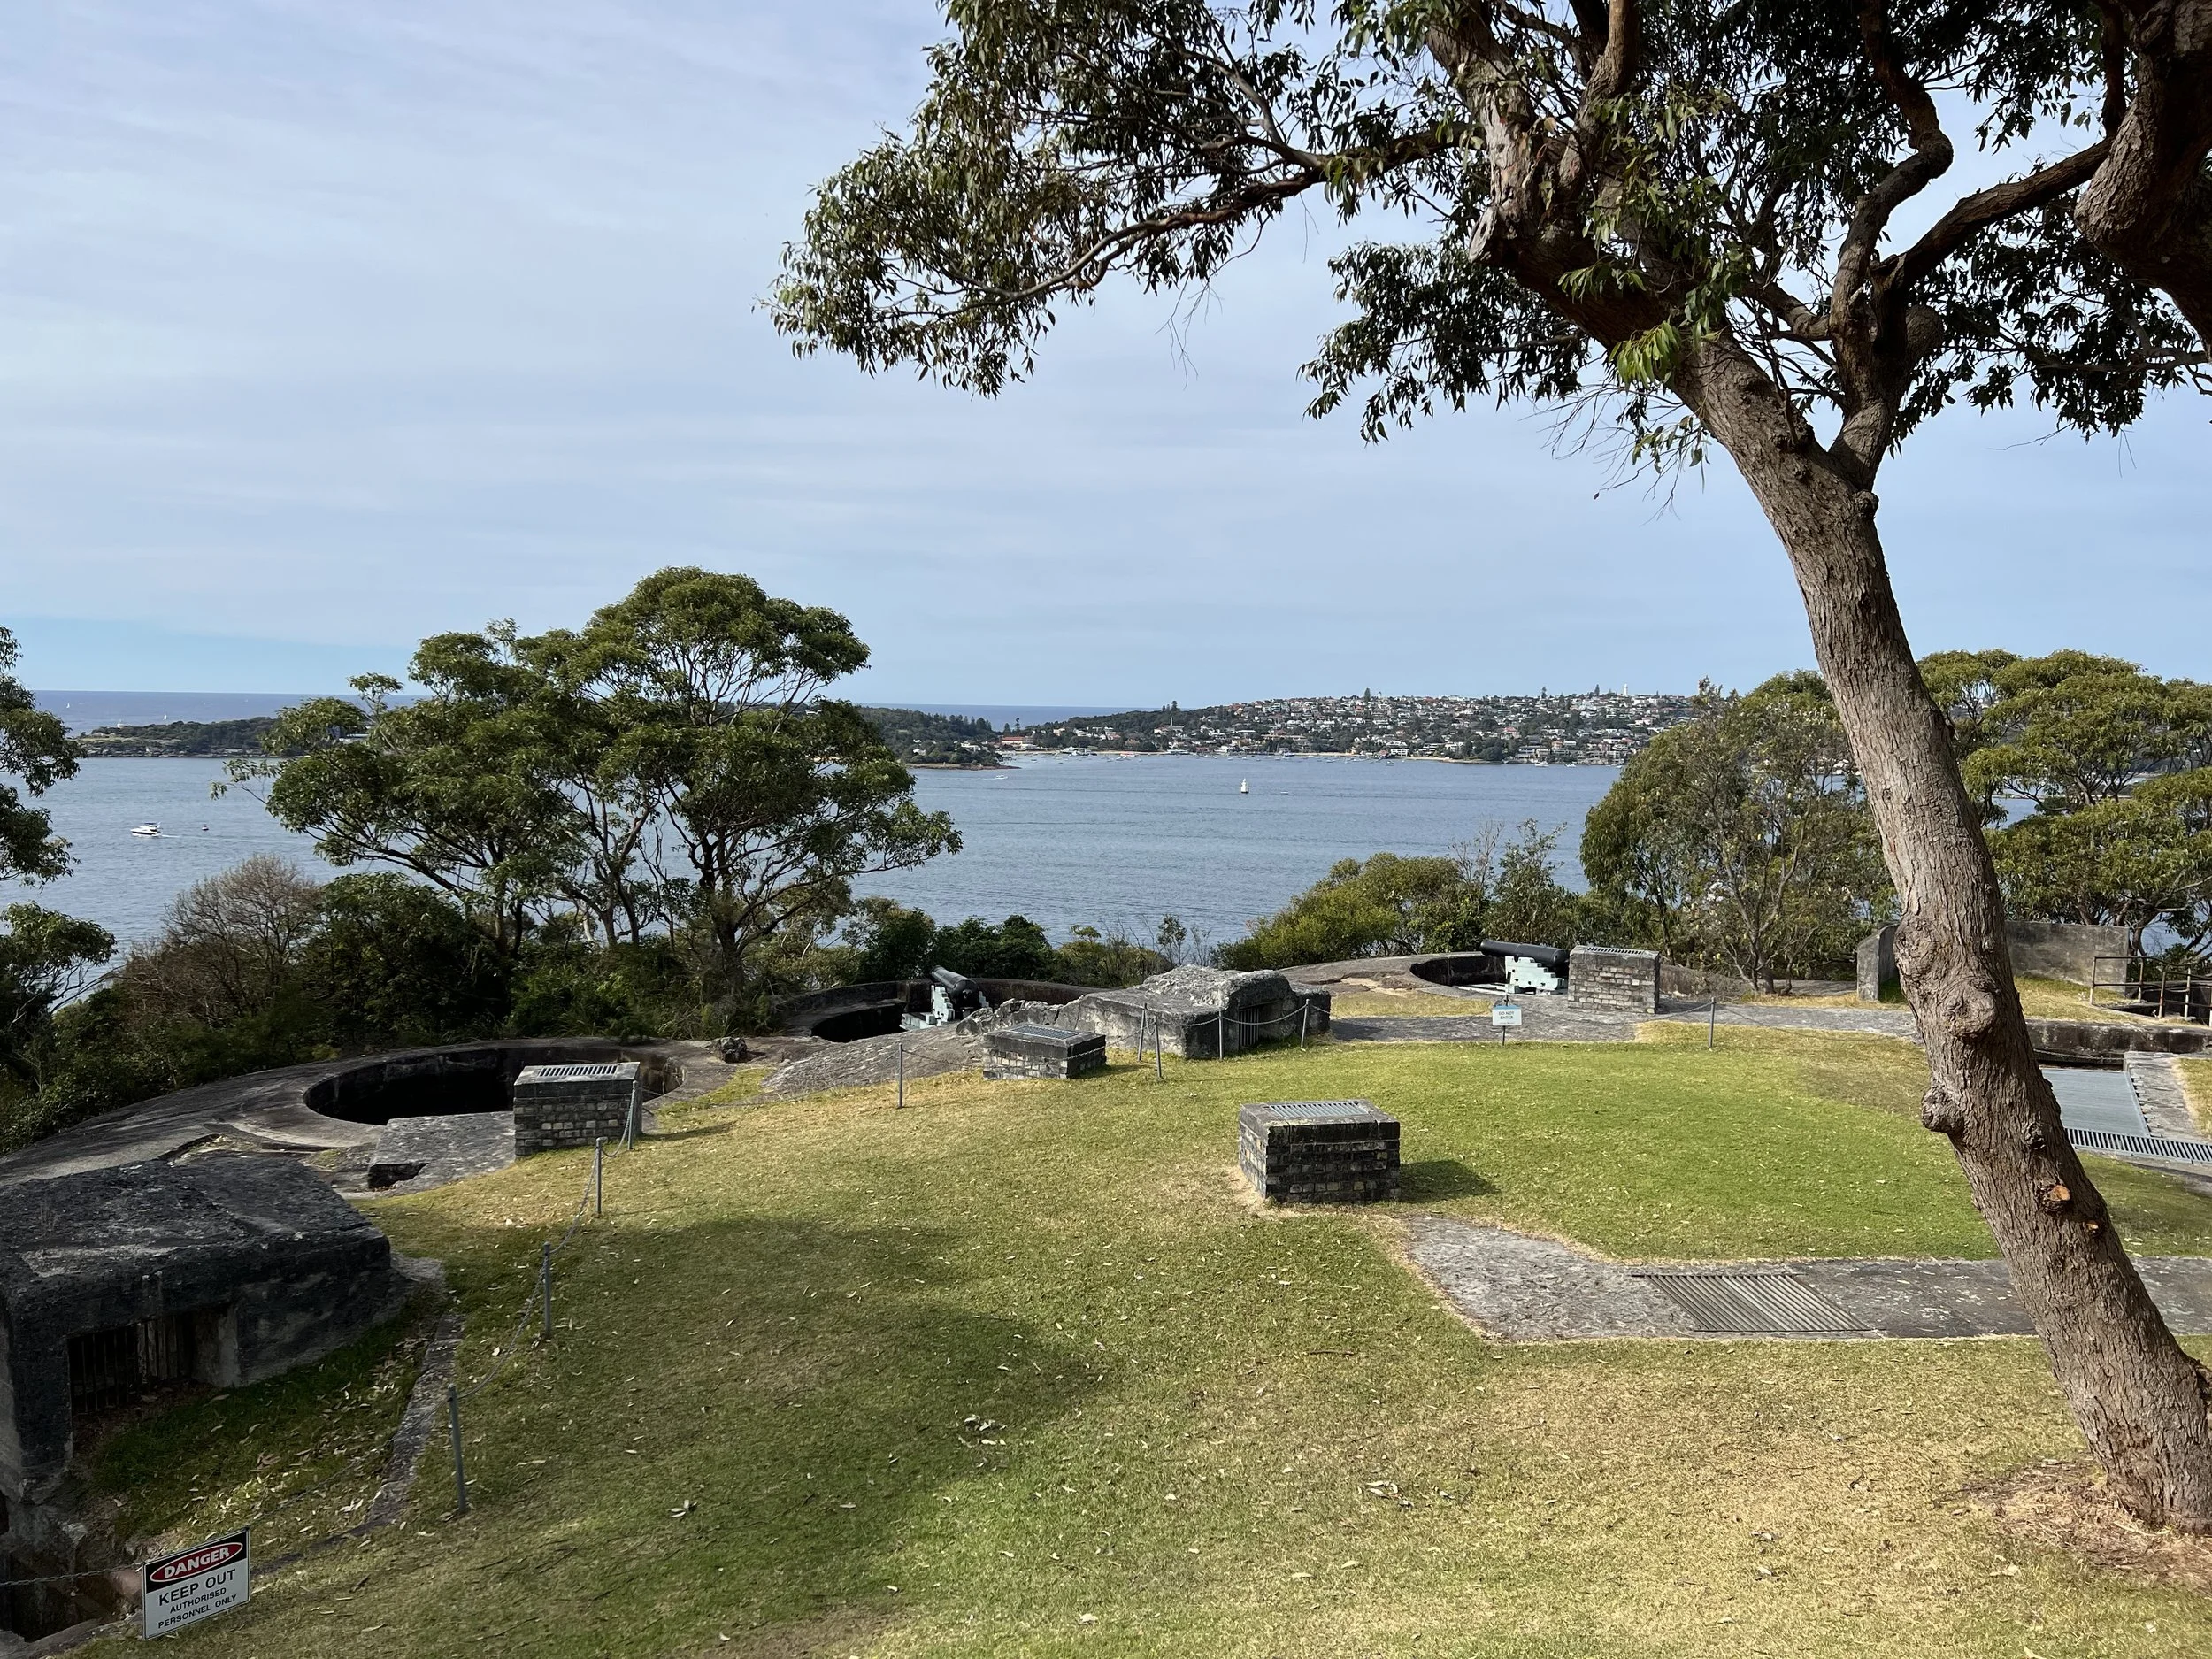
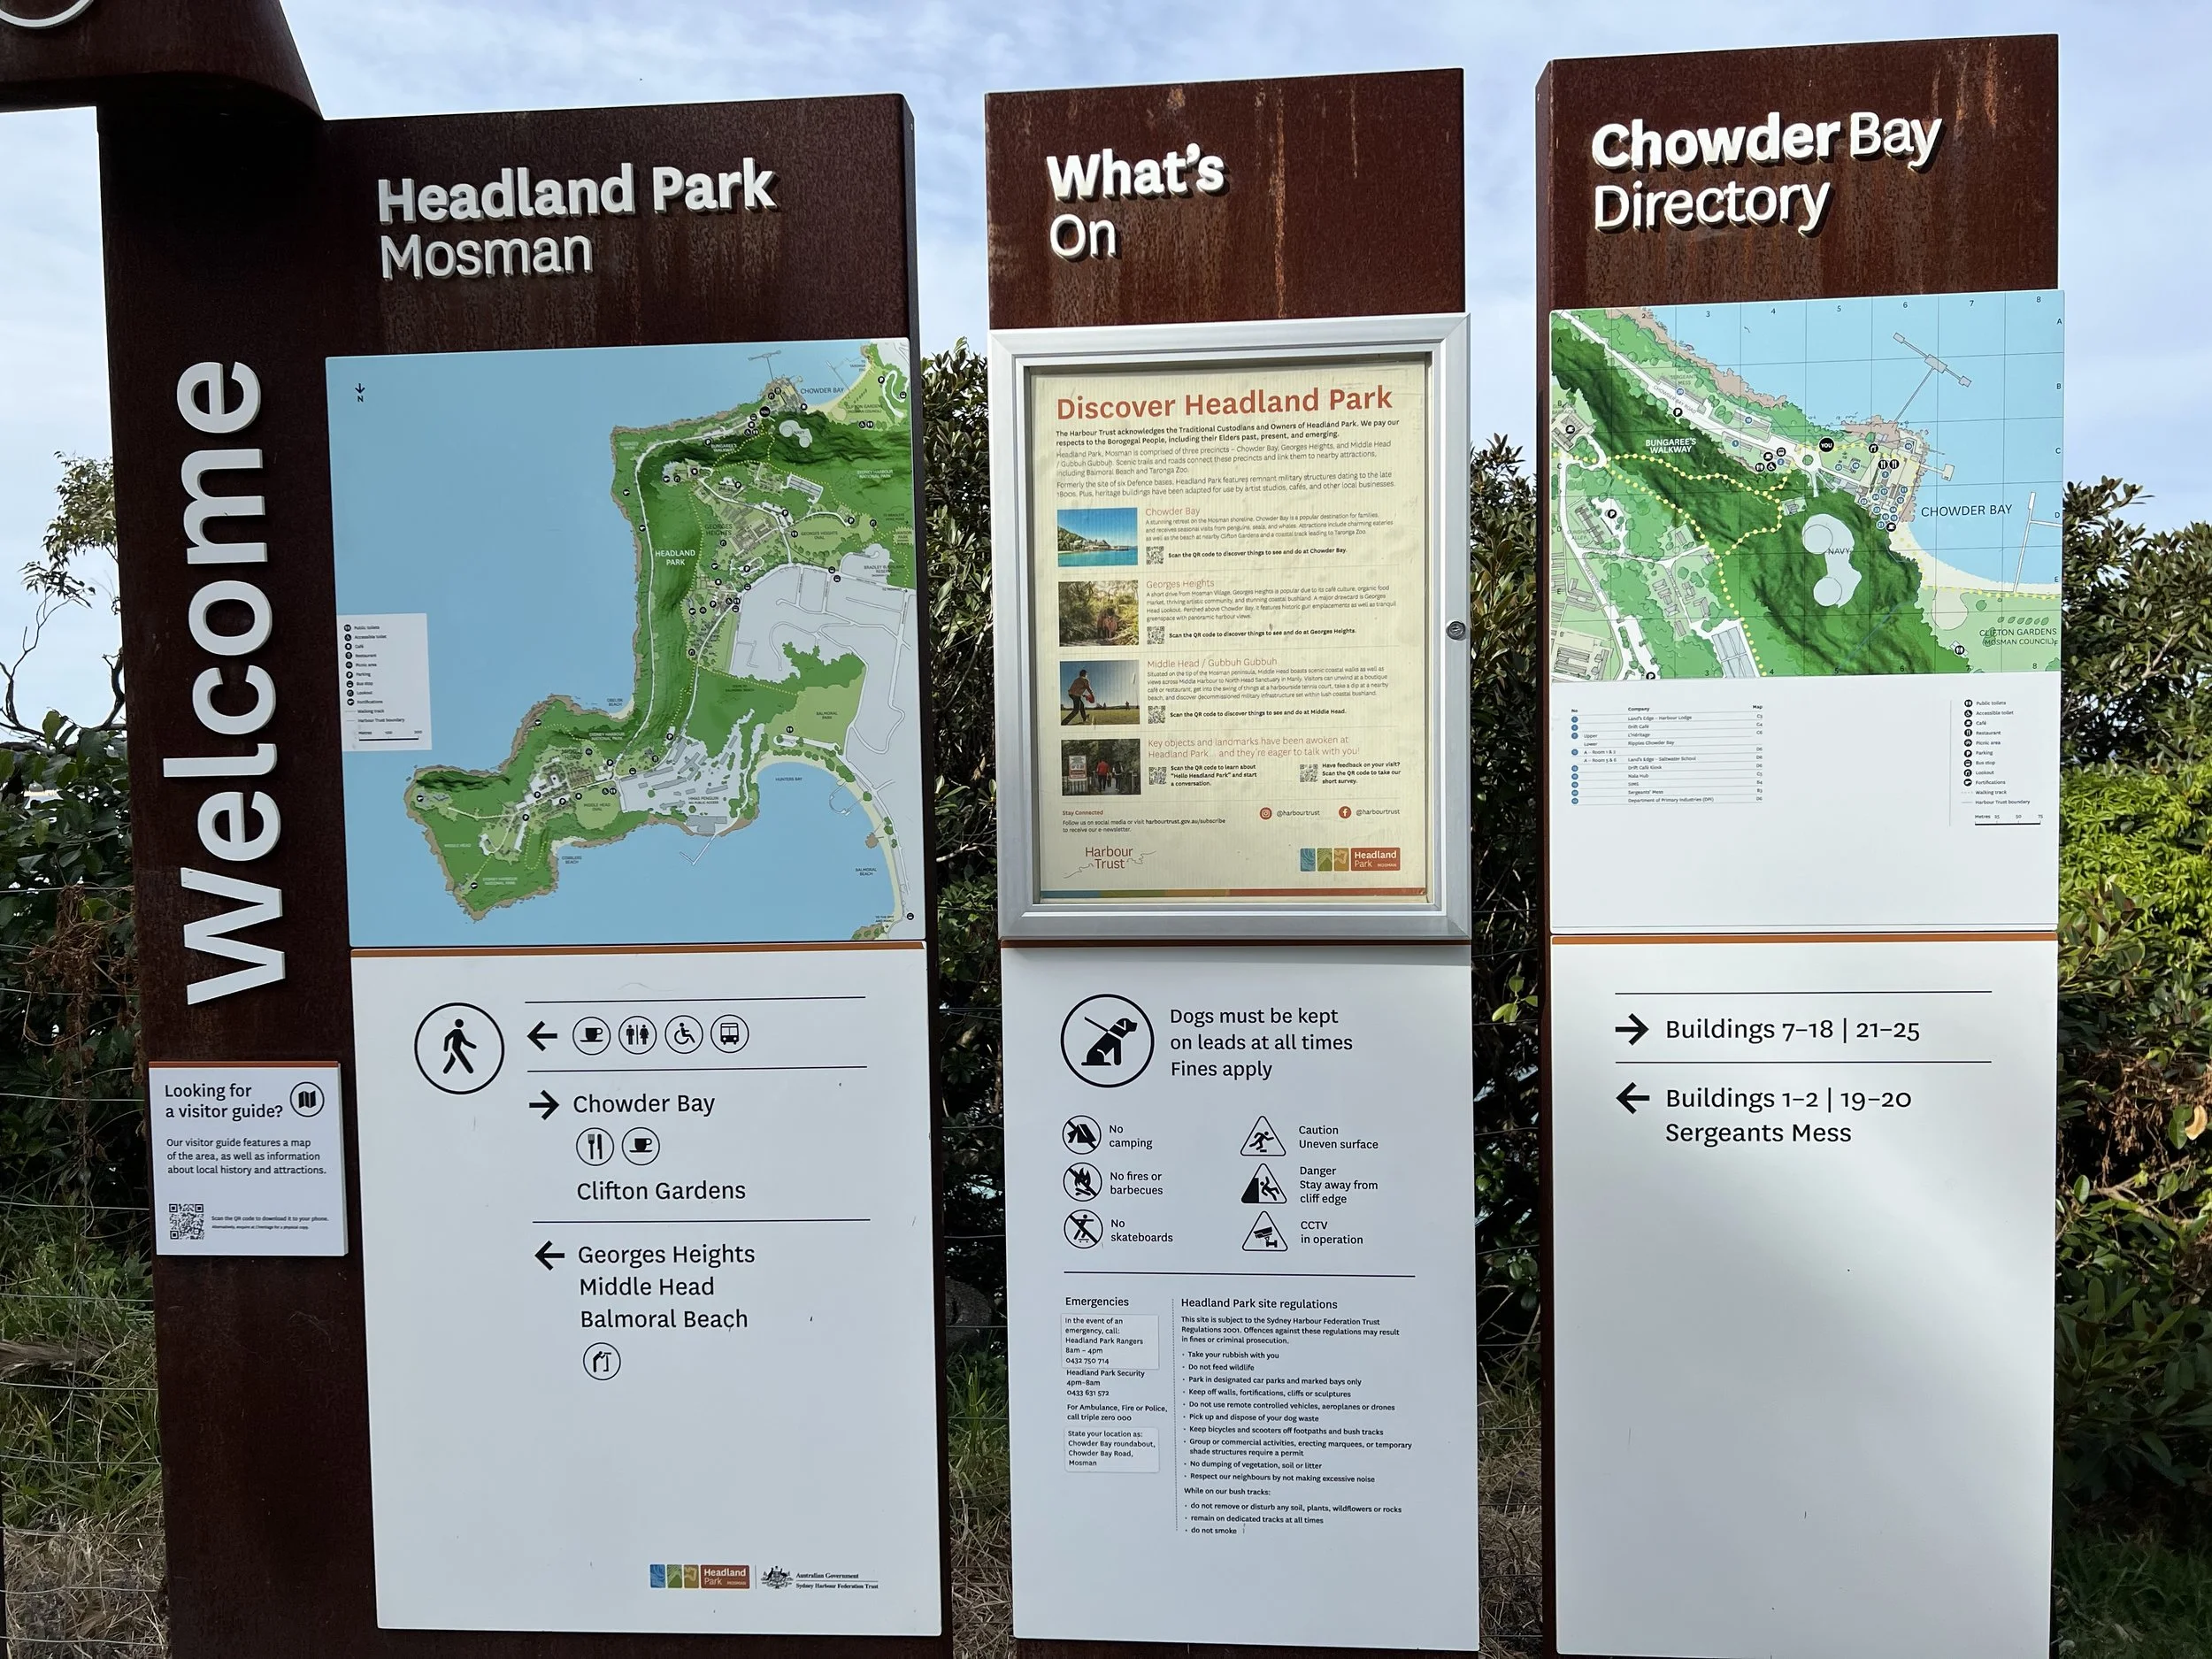
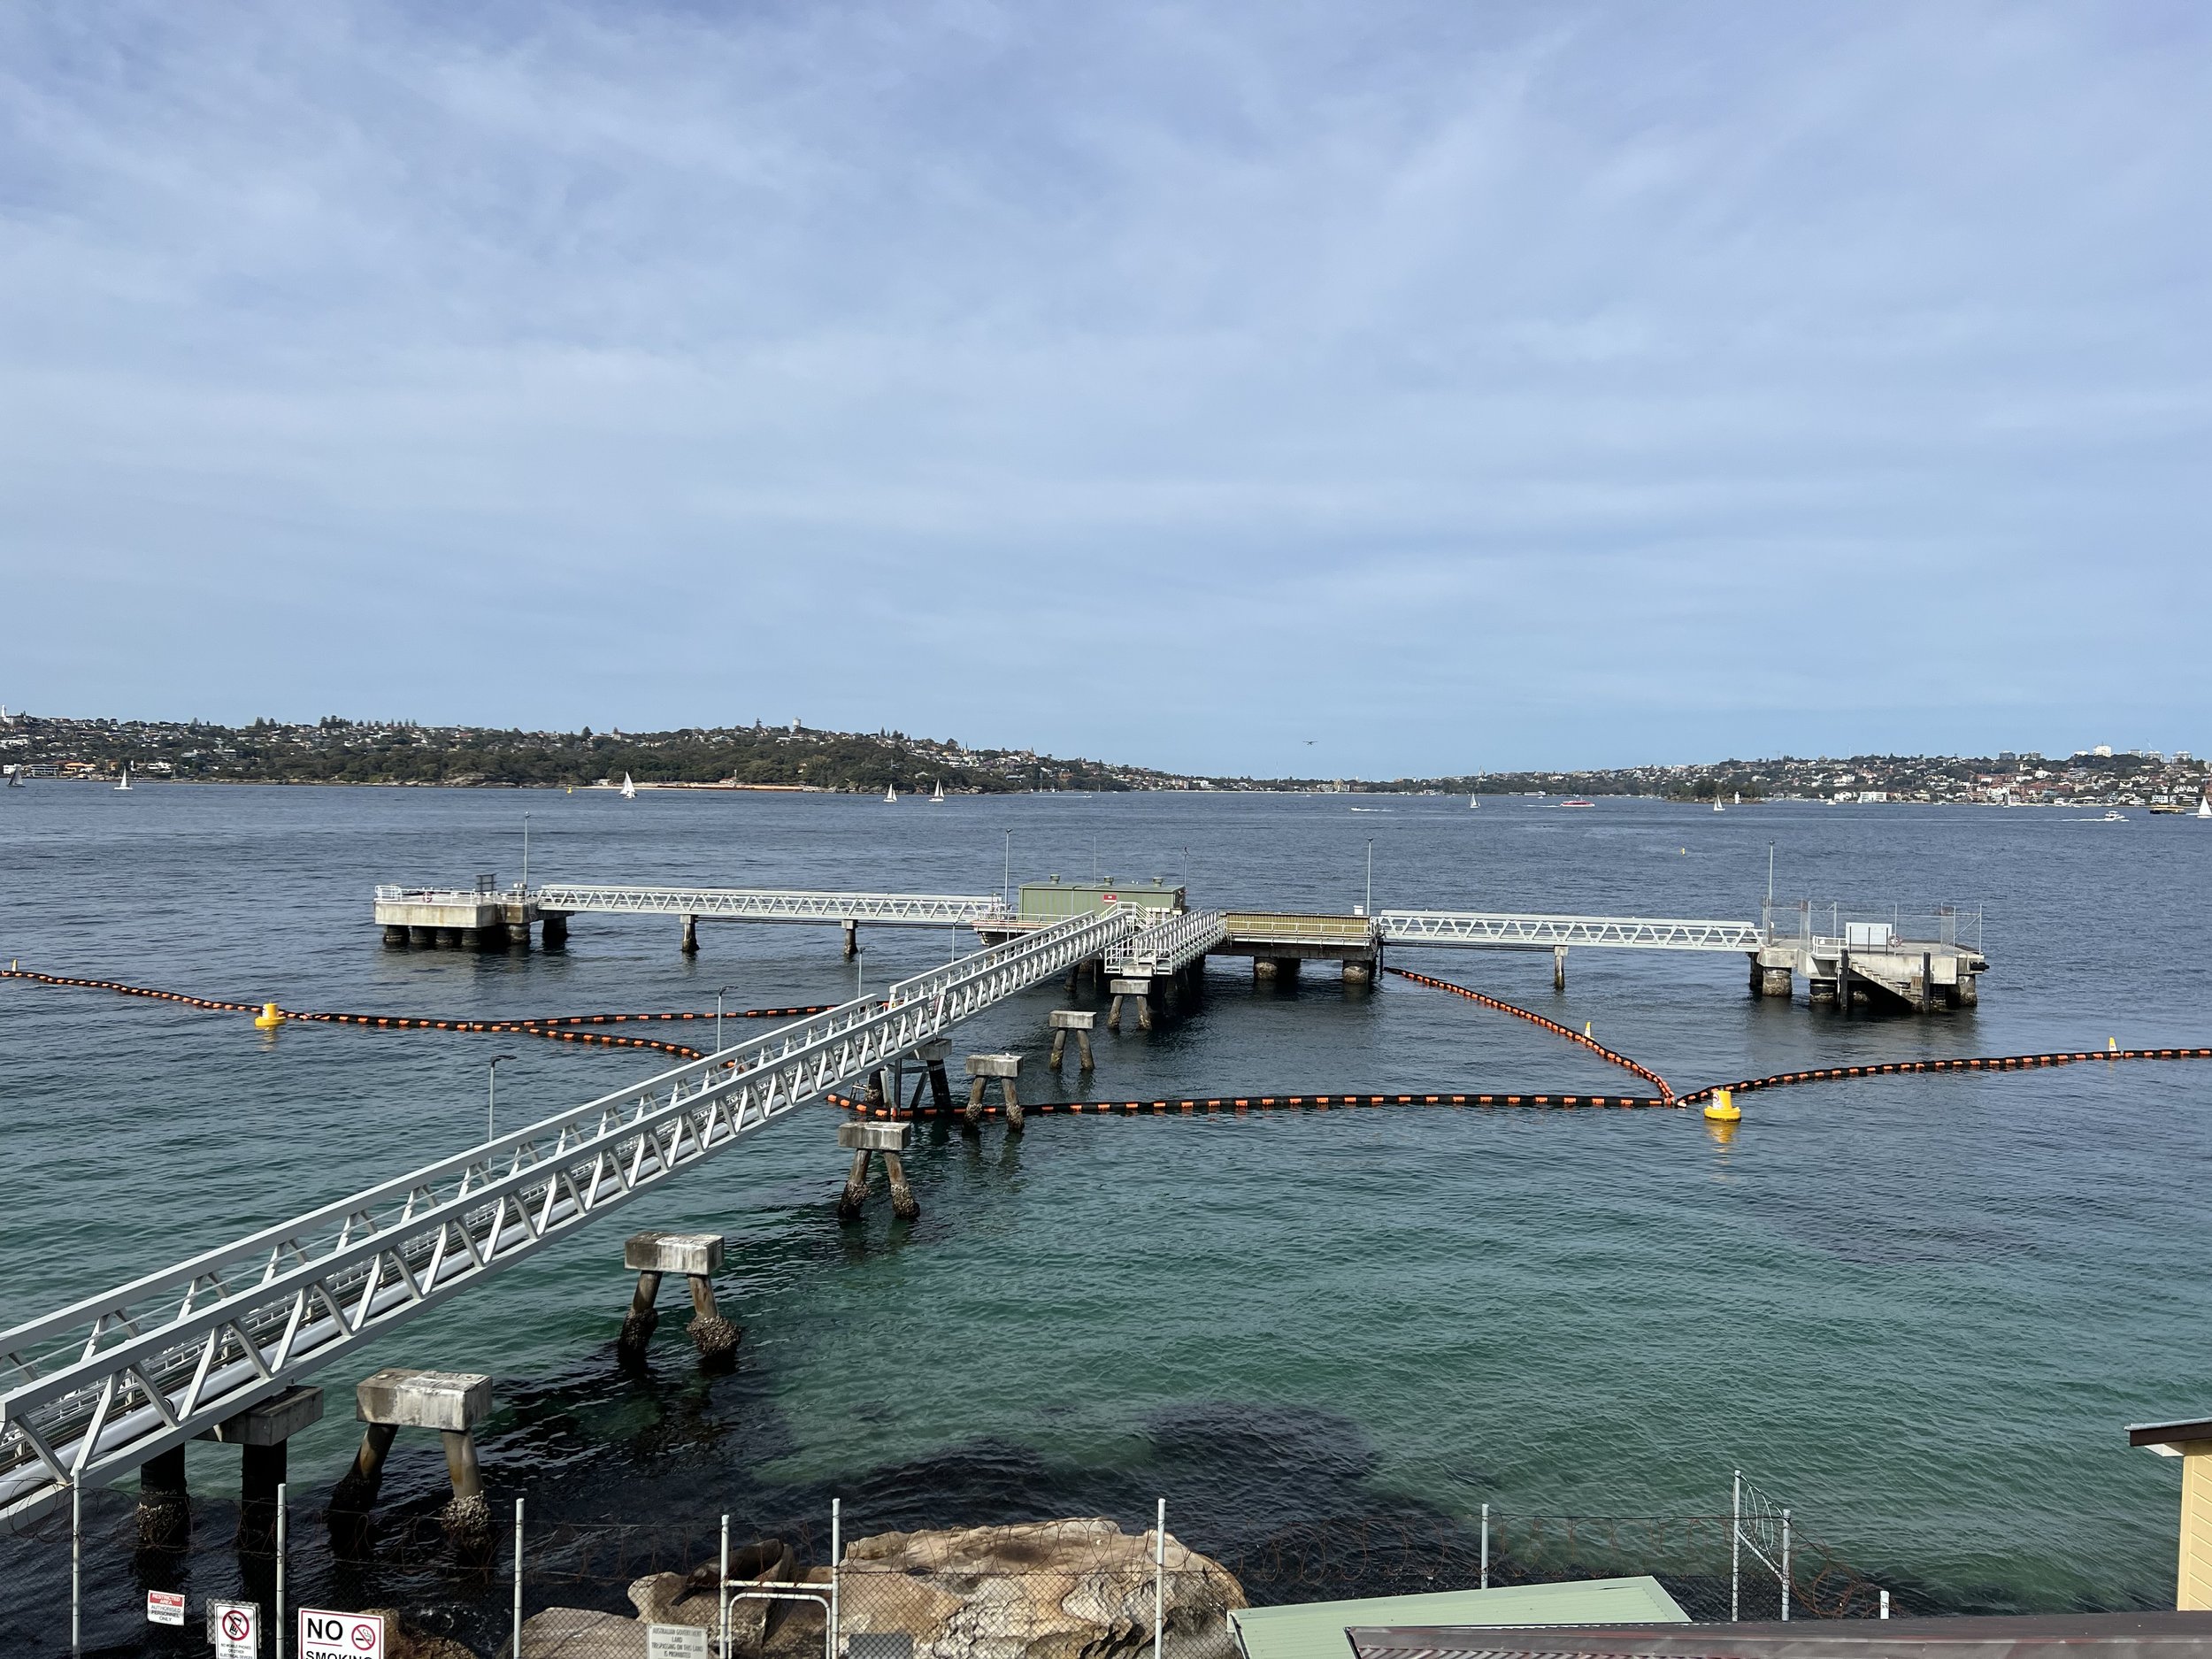
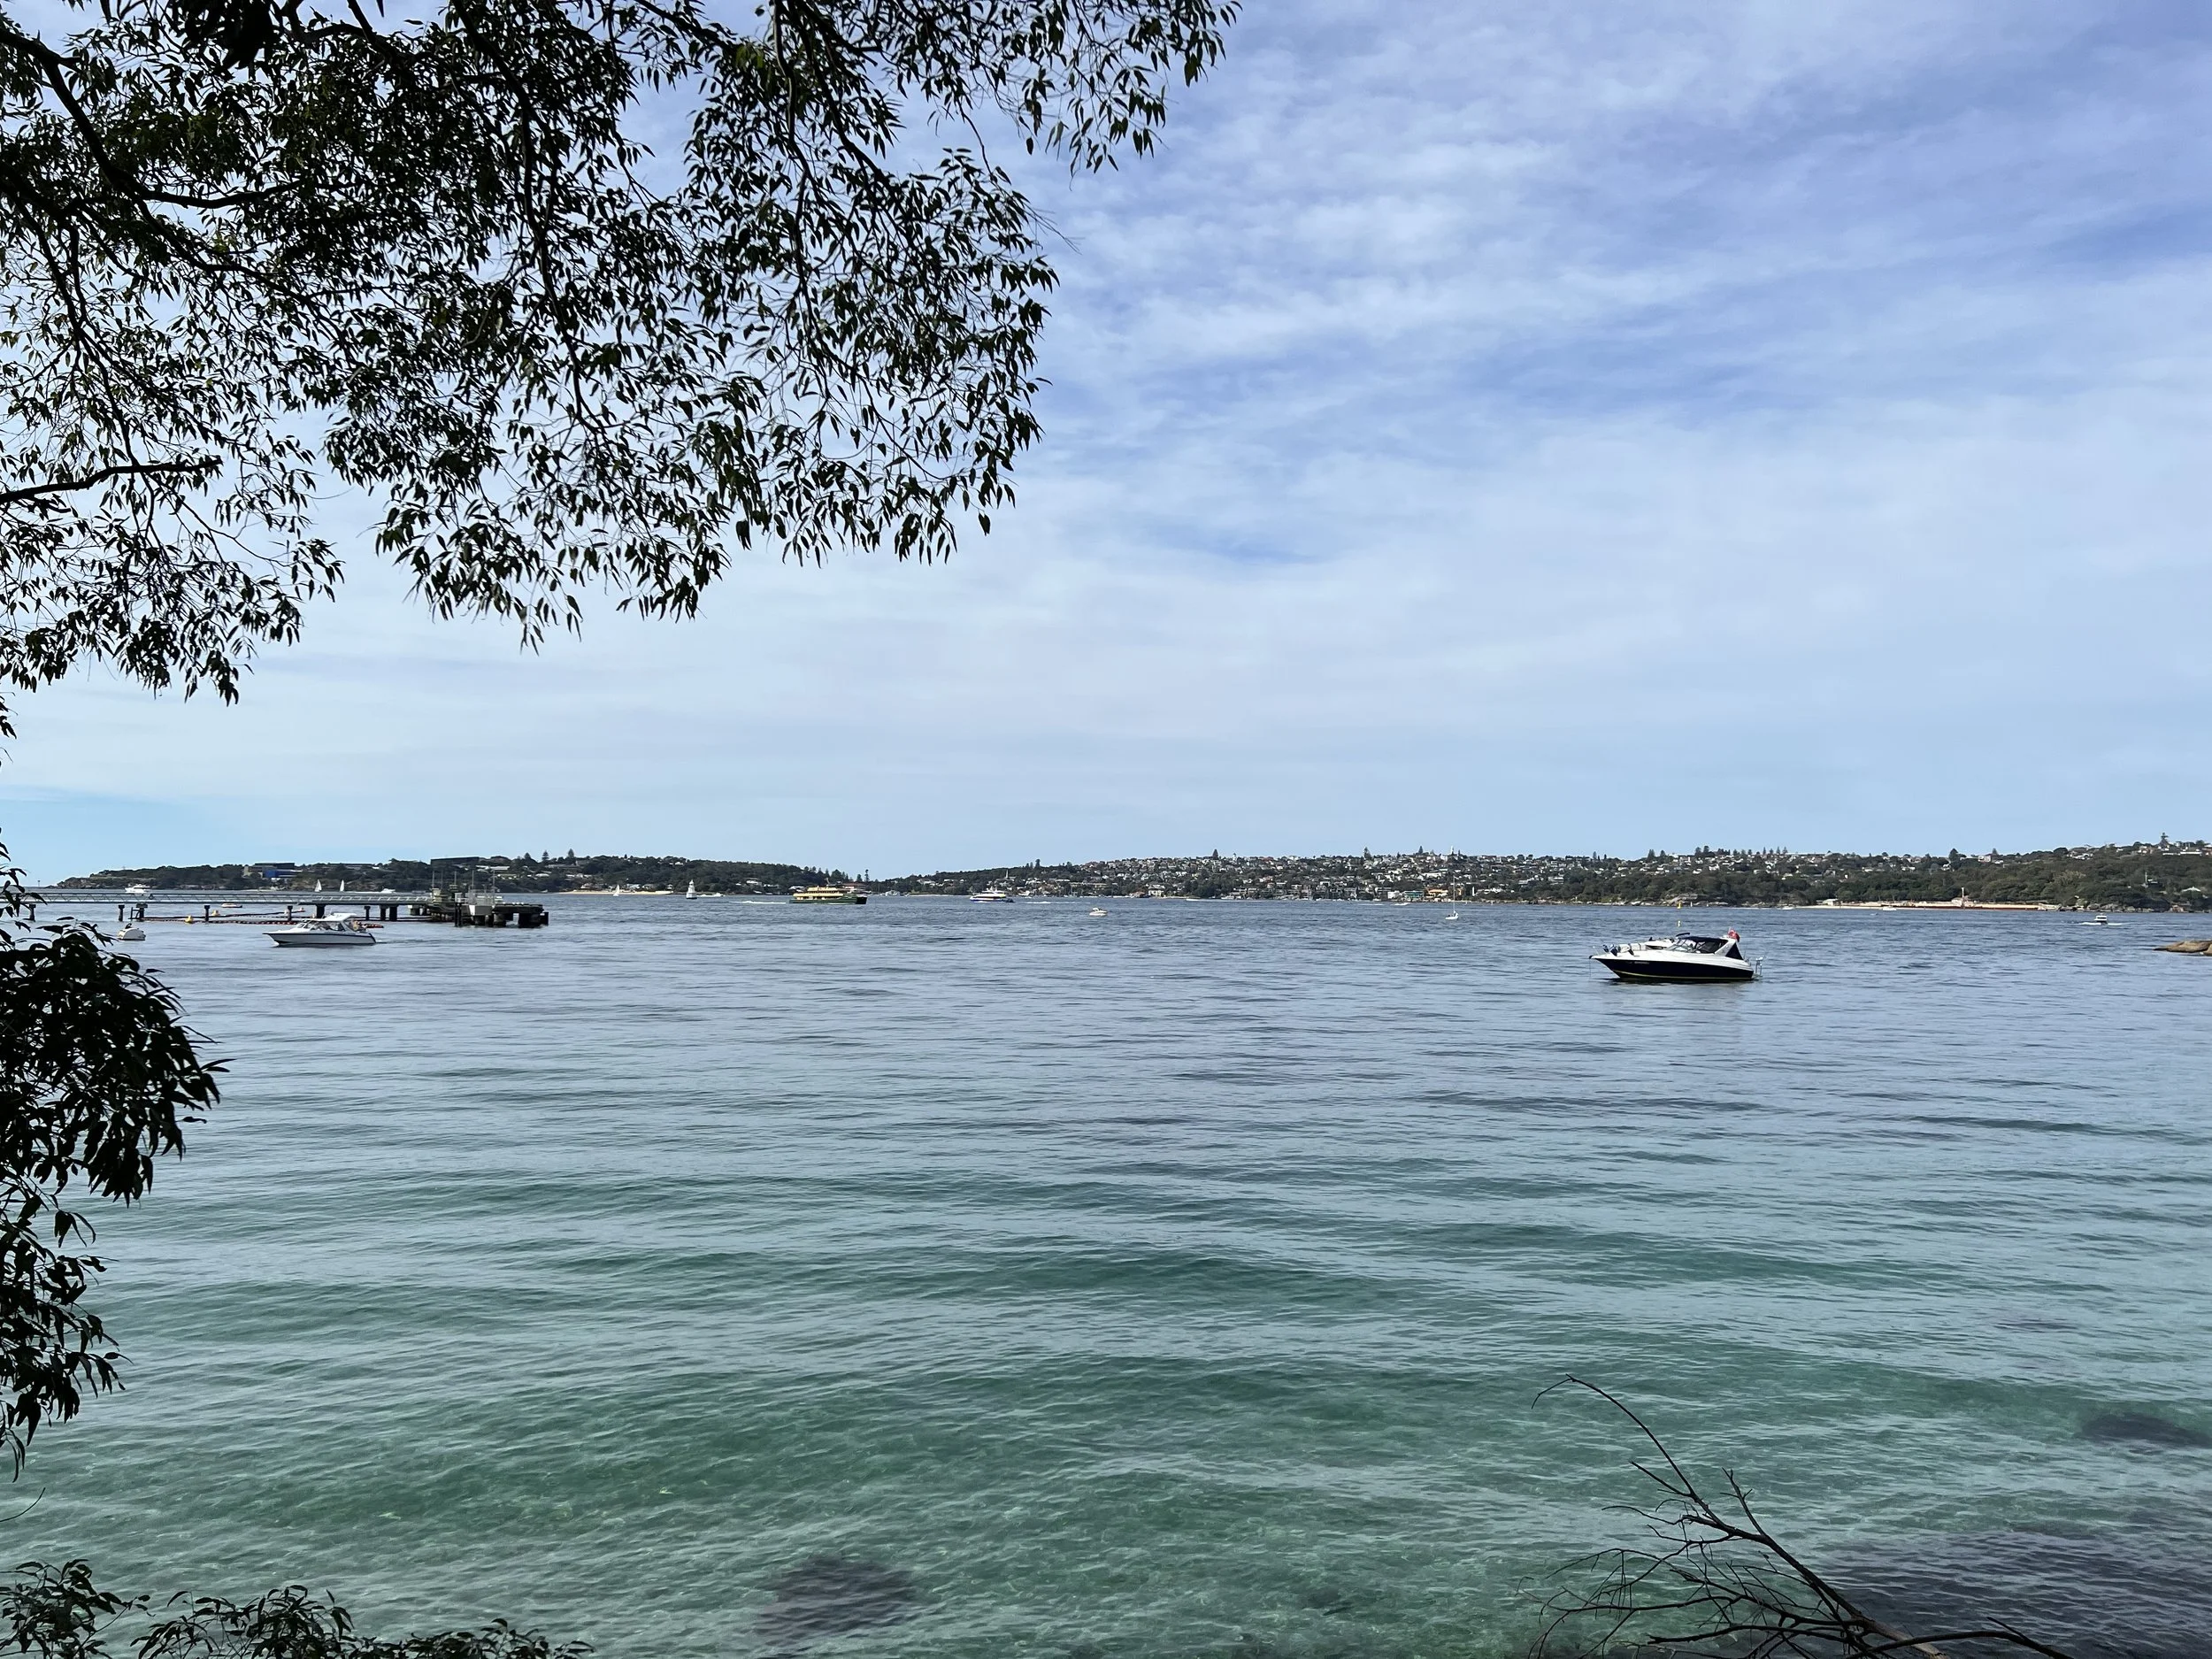
Balmoral Beach was calm when I arrived, with soft waves brushing the sand as I made my way along the shoreline. From there, I headed inland toward Middle Head. The early section follows paved streets, but because traffic was light, it felt easy and relaxed. The route passes HMAS Penguin, an active naval base, before reconnecting with the main walking track. It’s here that Middle Head’s long military history becomes apparent—tunnels, gun pits, and concrete fortifications still cling to the cliffs, reminders of the area’s role in protecting Sydney Harbour since 1801. From these vantage points, the view across to North Head Sanctuary is absolutely stunning.
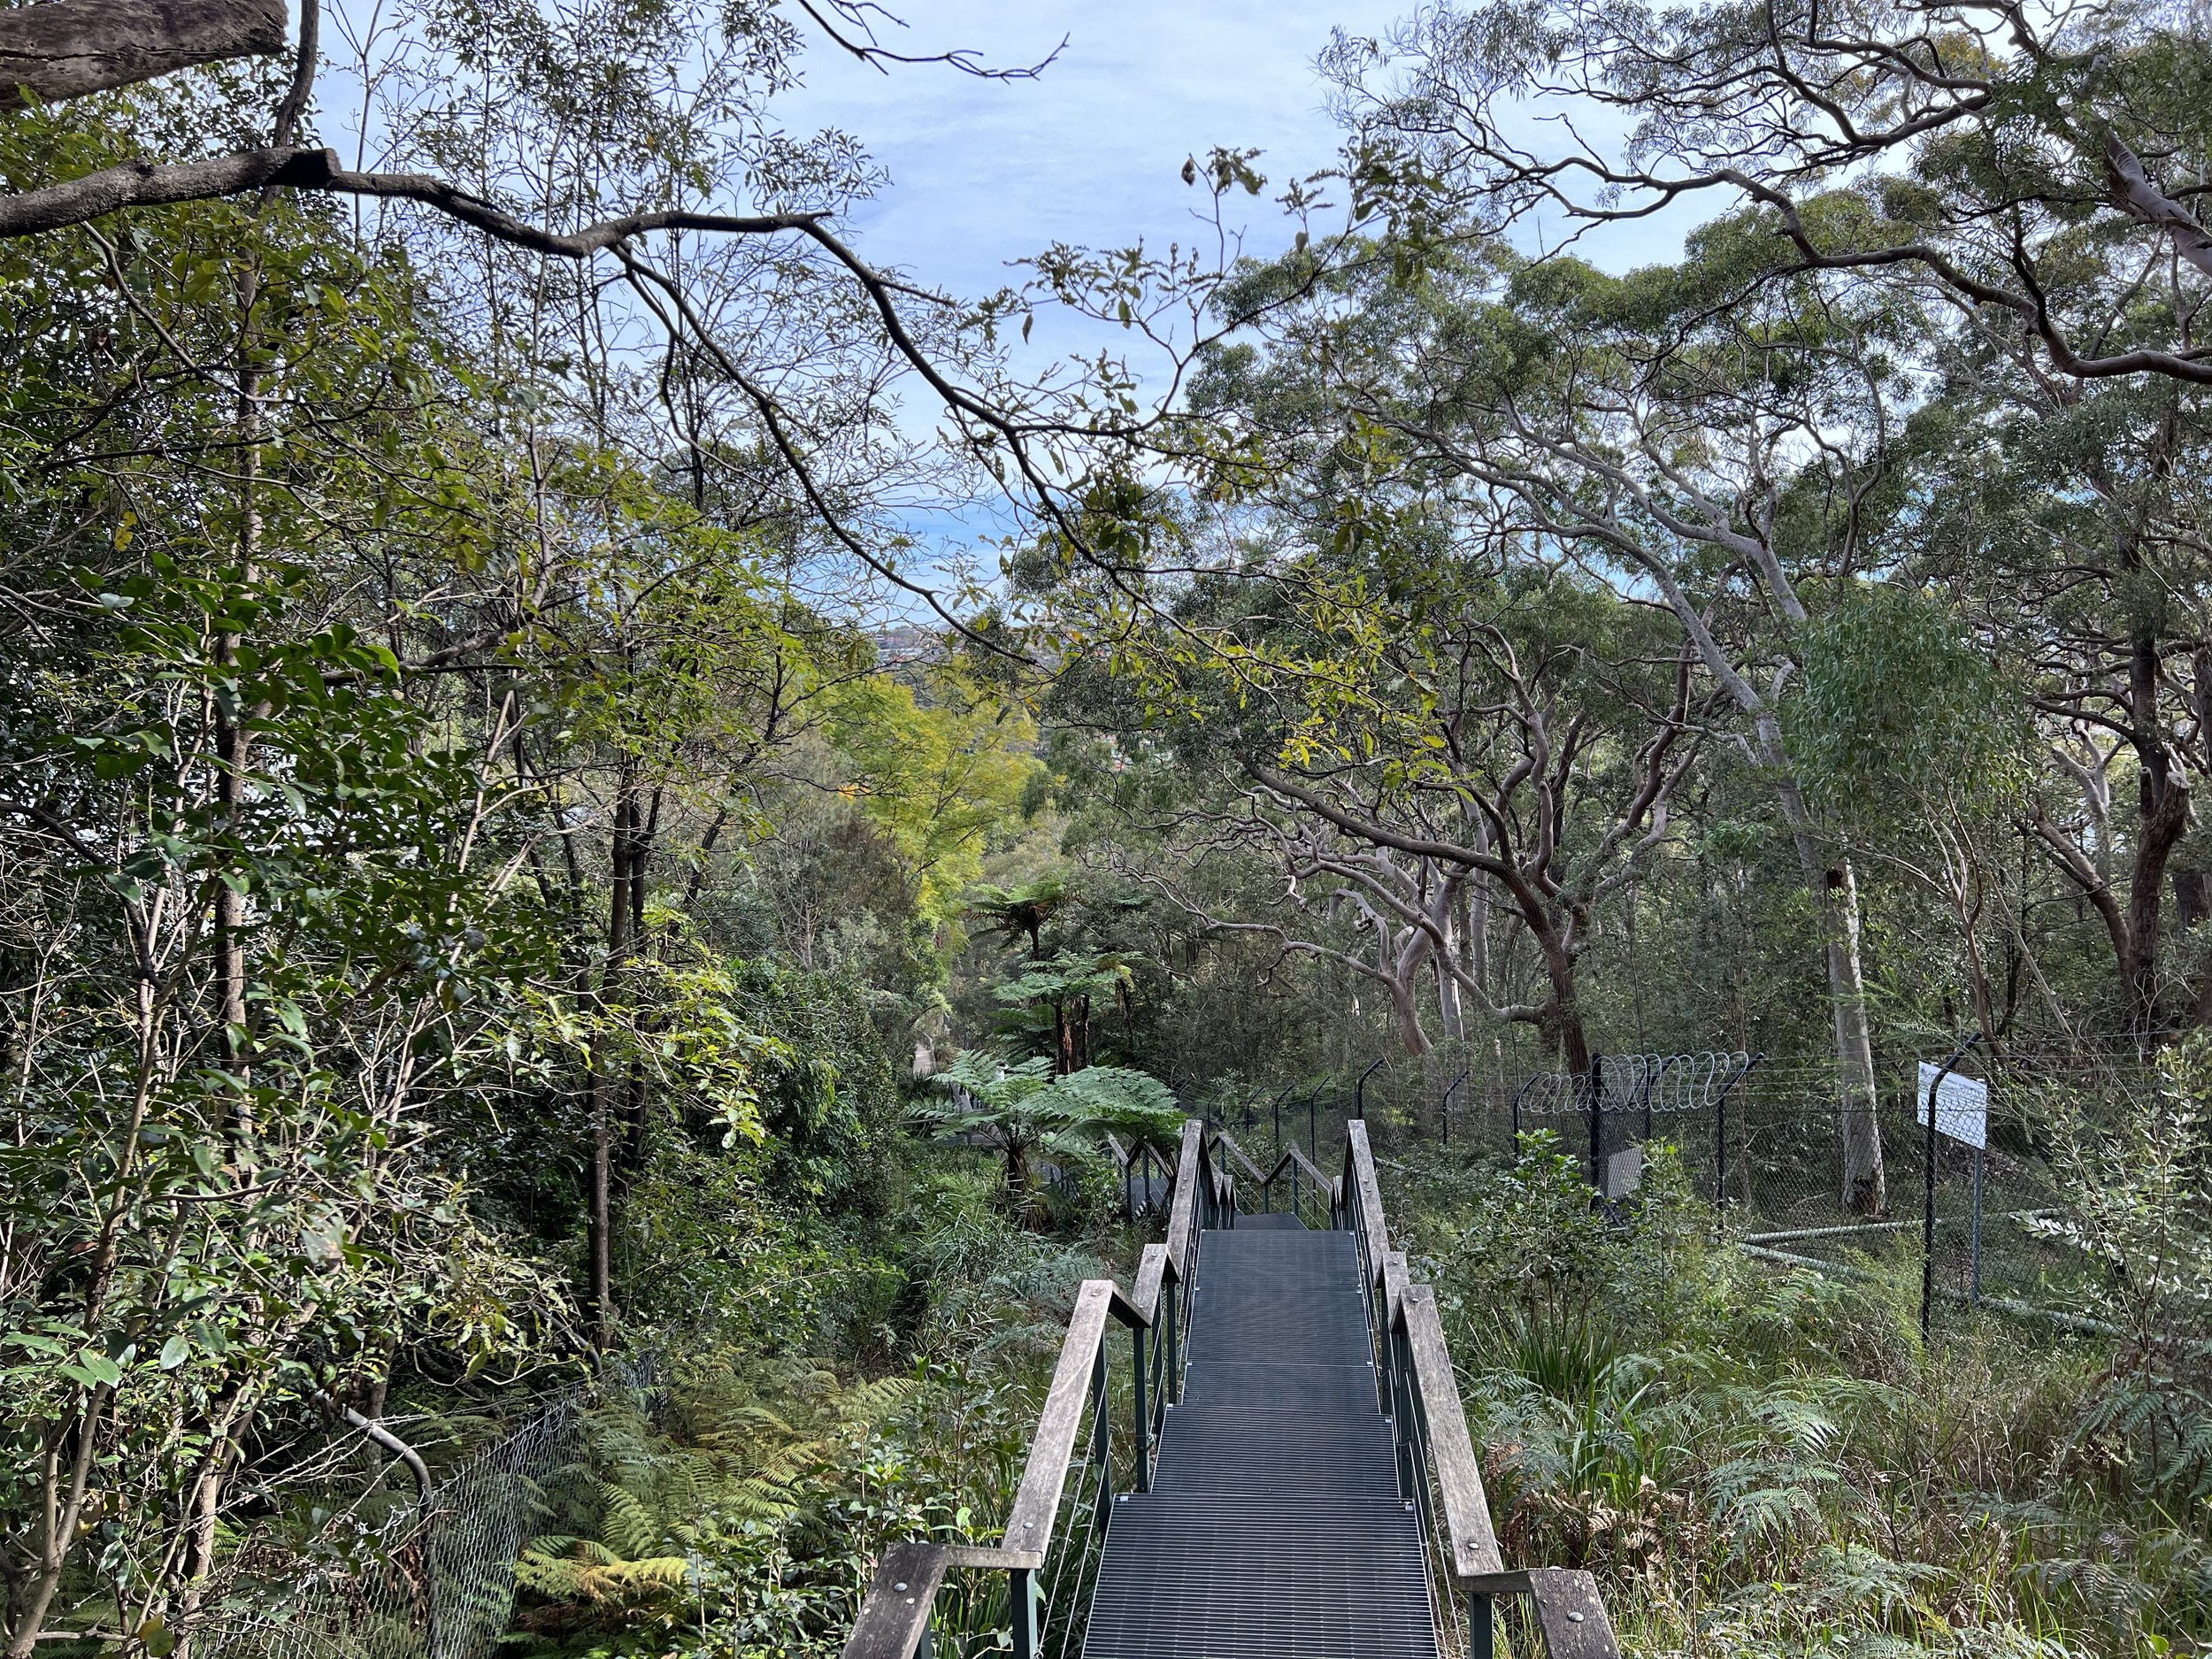
I continued toward Chowder Bay via the track through Headland Park. Much of this section is on metal grate boardwalk, which can be slick when wet. Even though it wasn’t raining during my visit, I still felt like I needed to watch my footing. The turquoise water around Chowder Bay, paired with its pale sandy shoreline, is so striking that I stopped for a short break just to take in the colour. Cafés with outdoor terraces line the bay, and the ones I passed were all buzzing with people enjoying their morning.
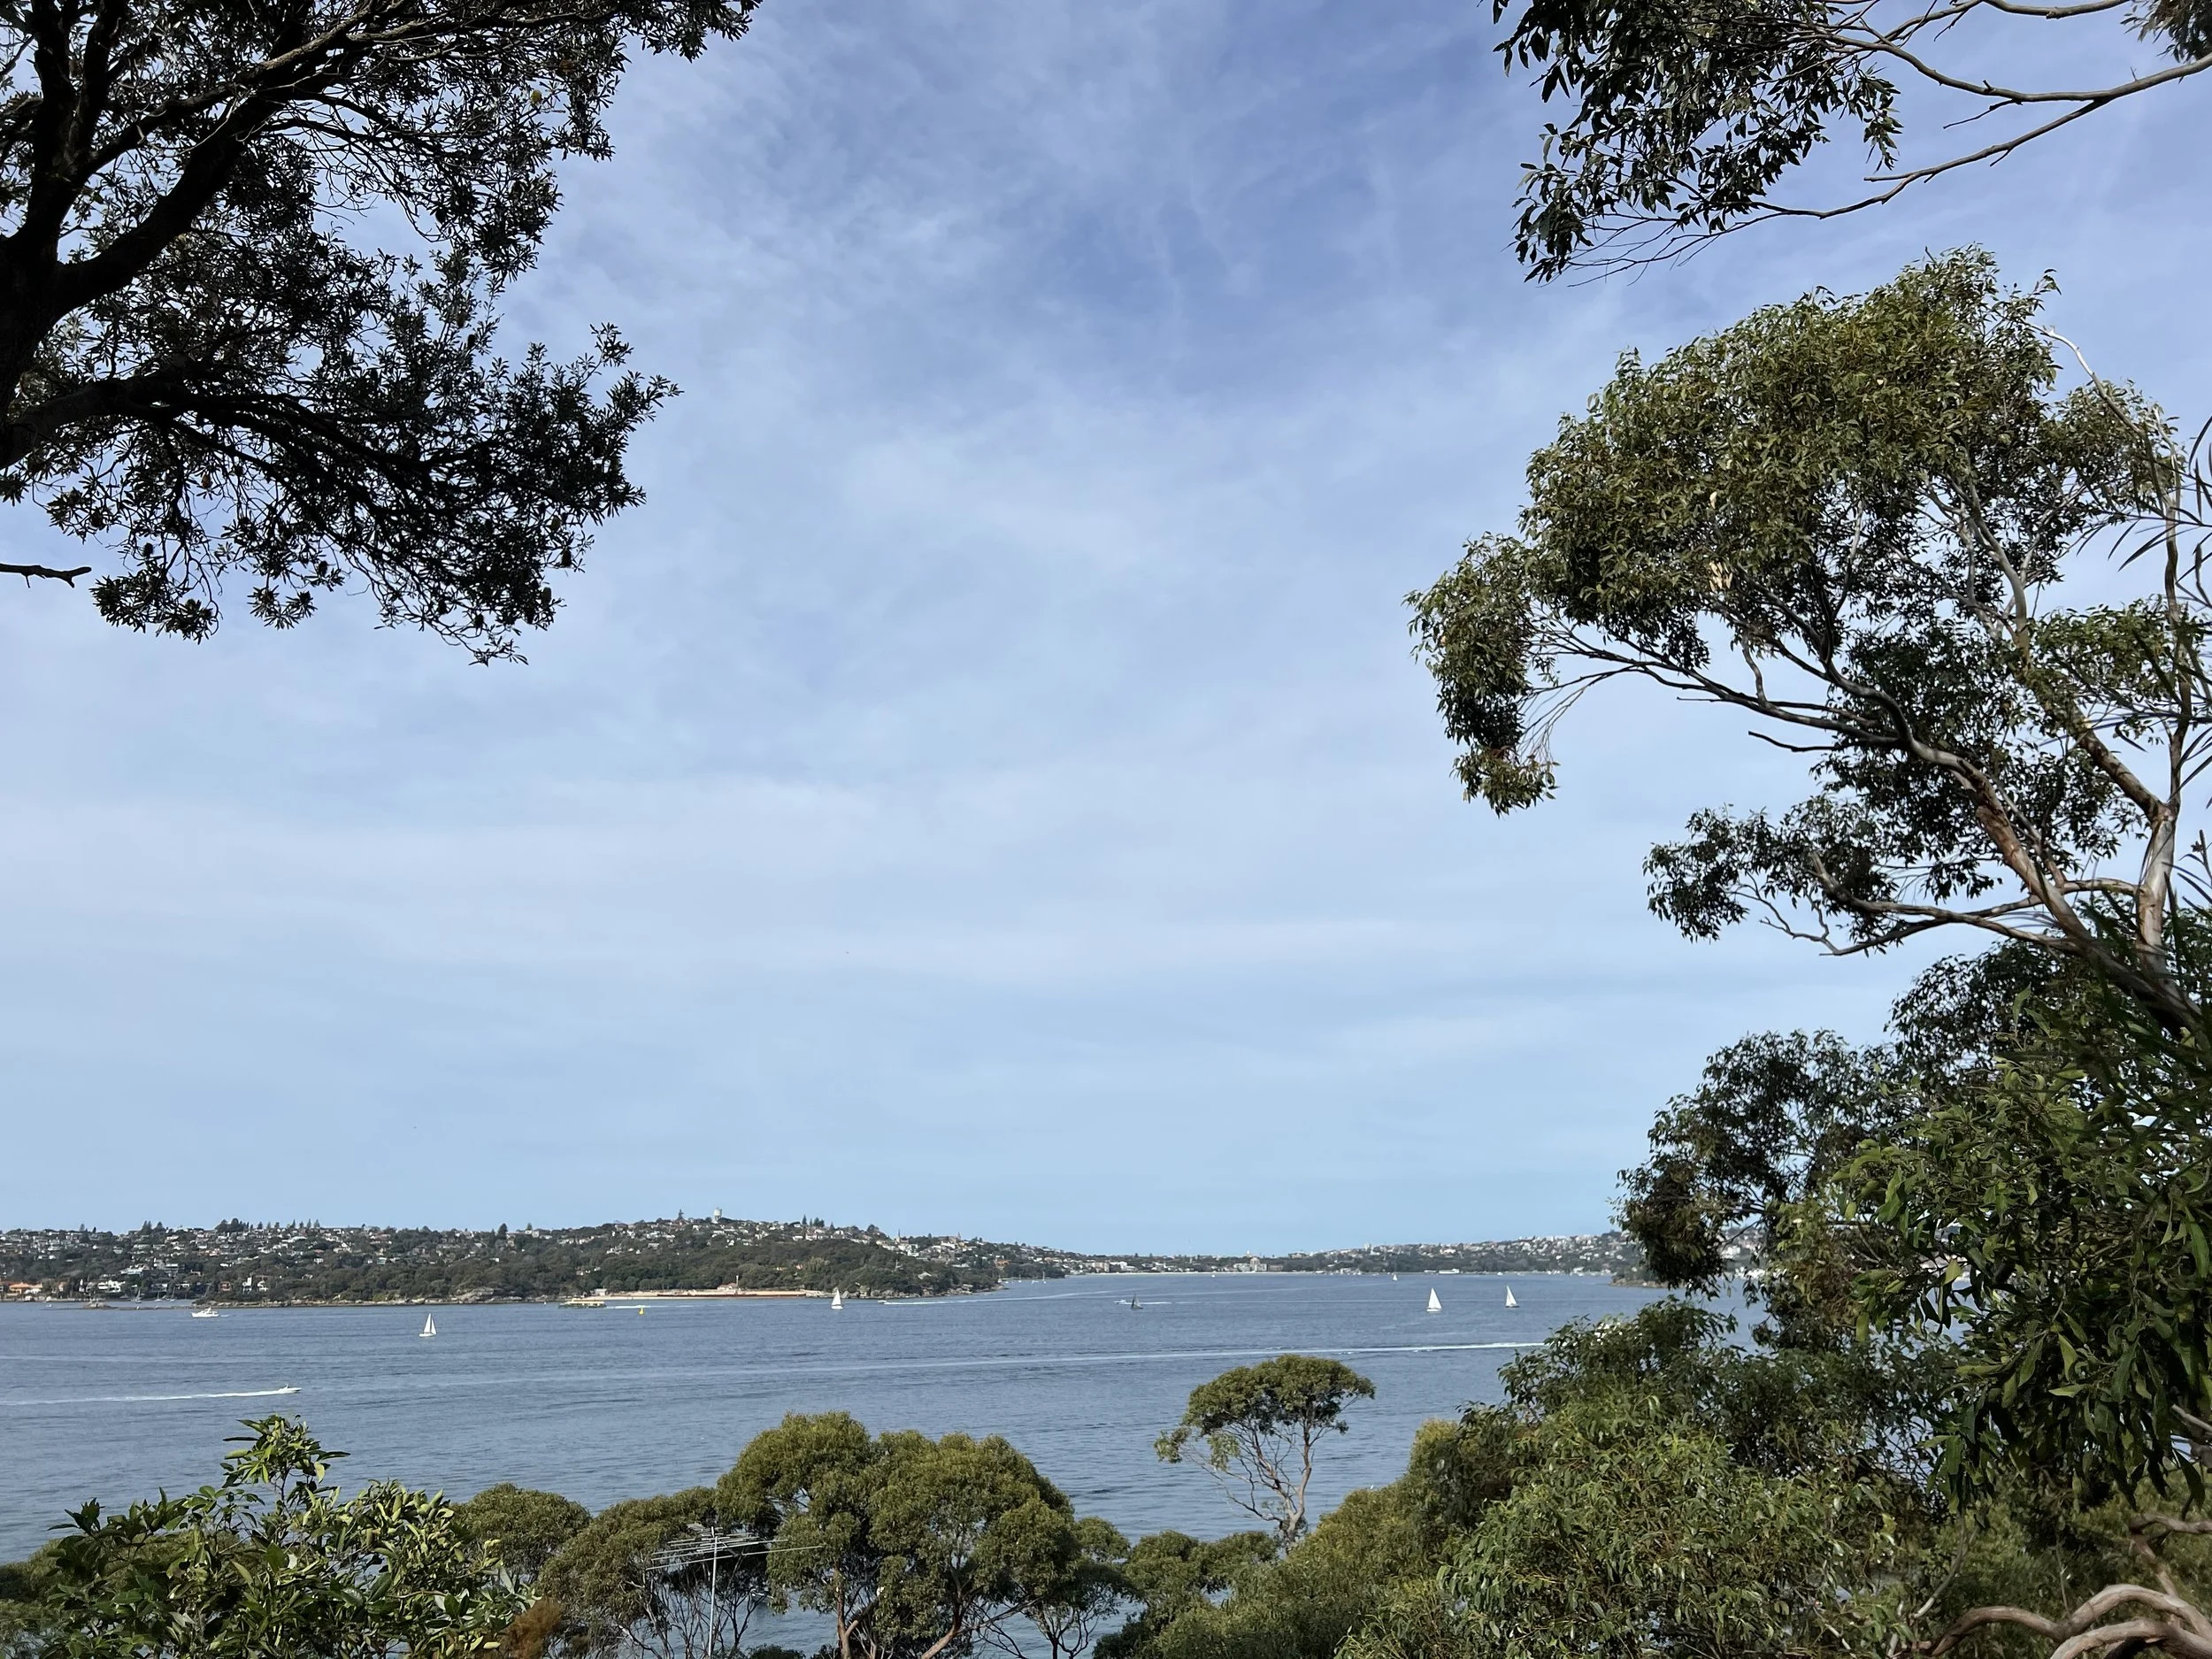
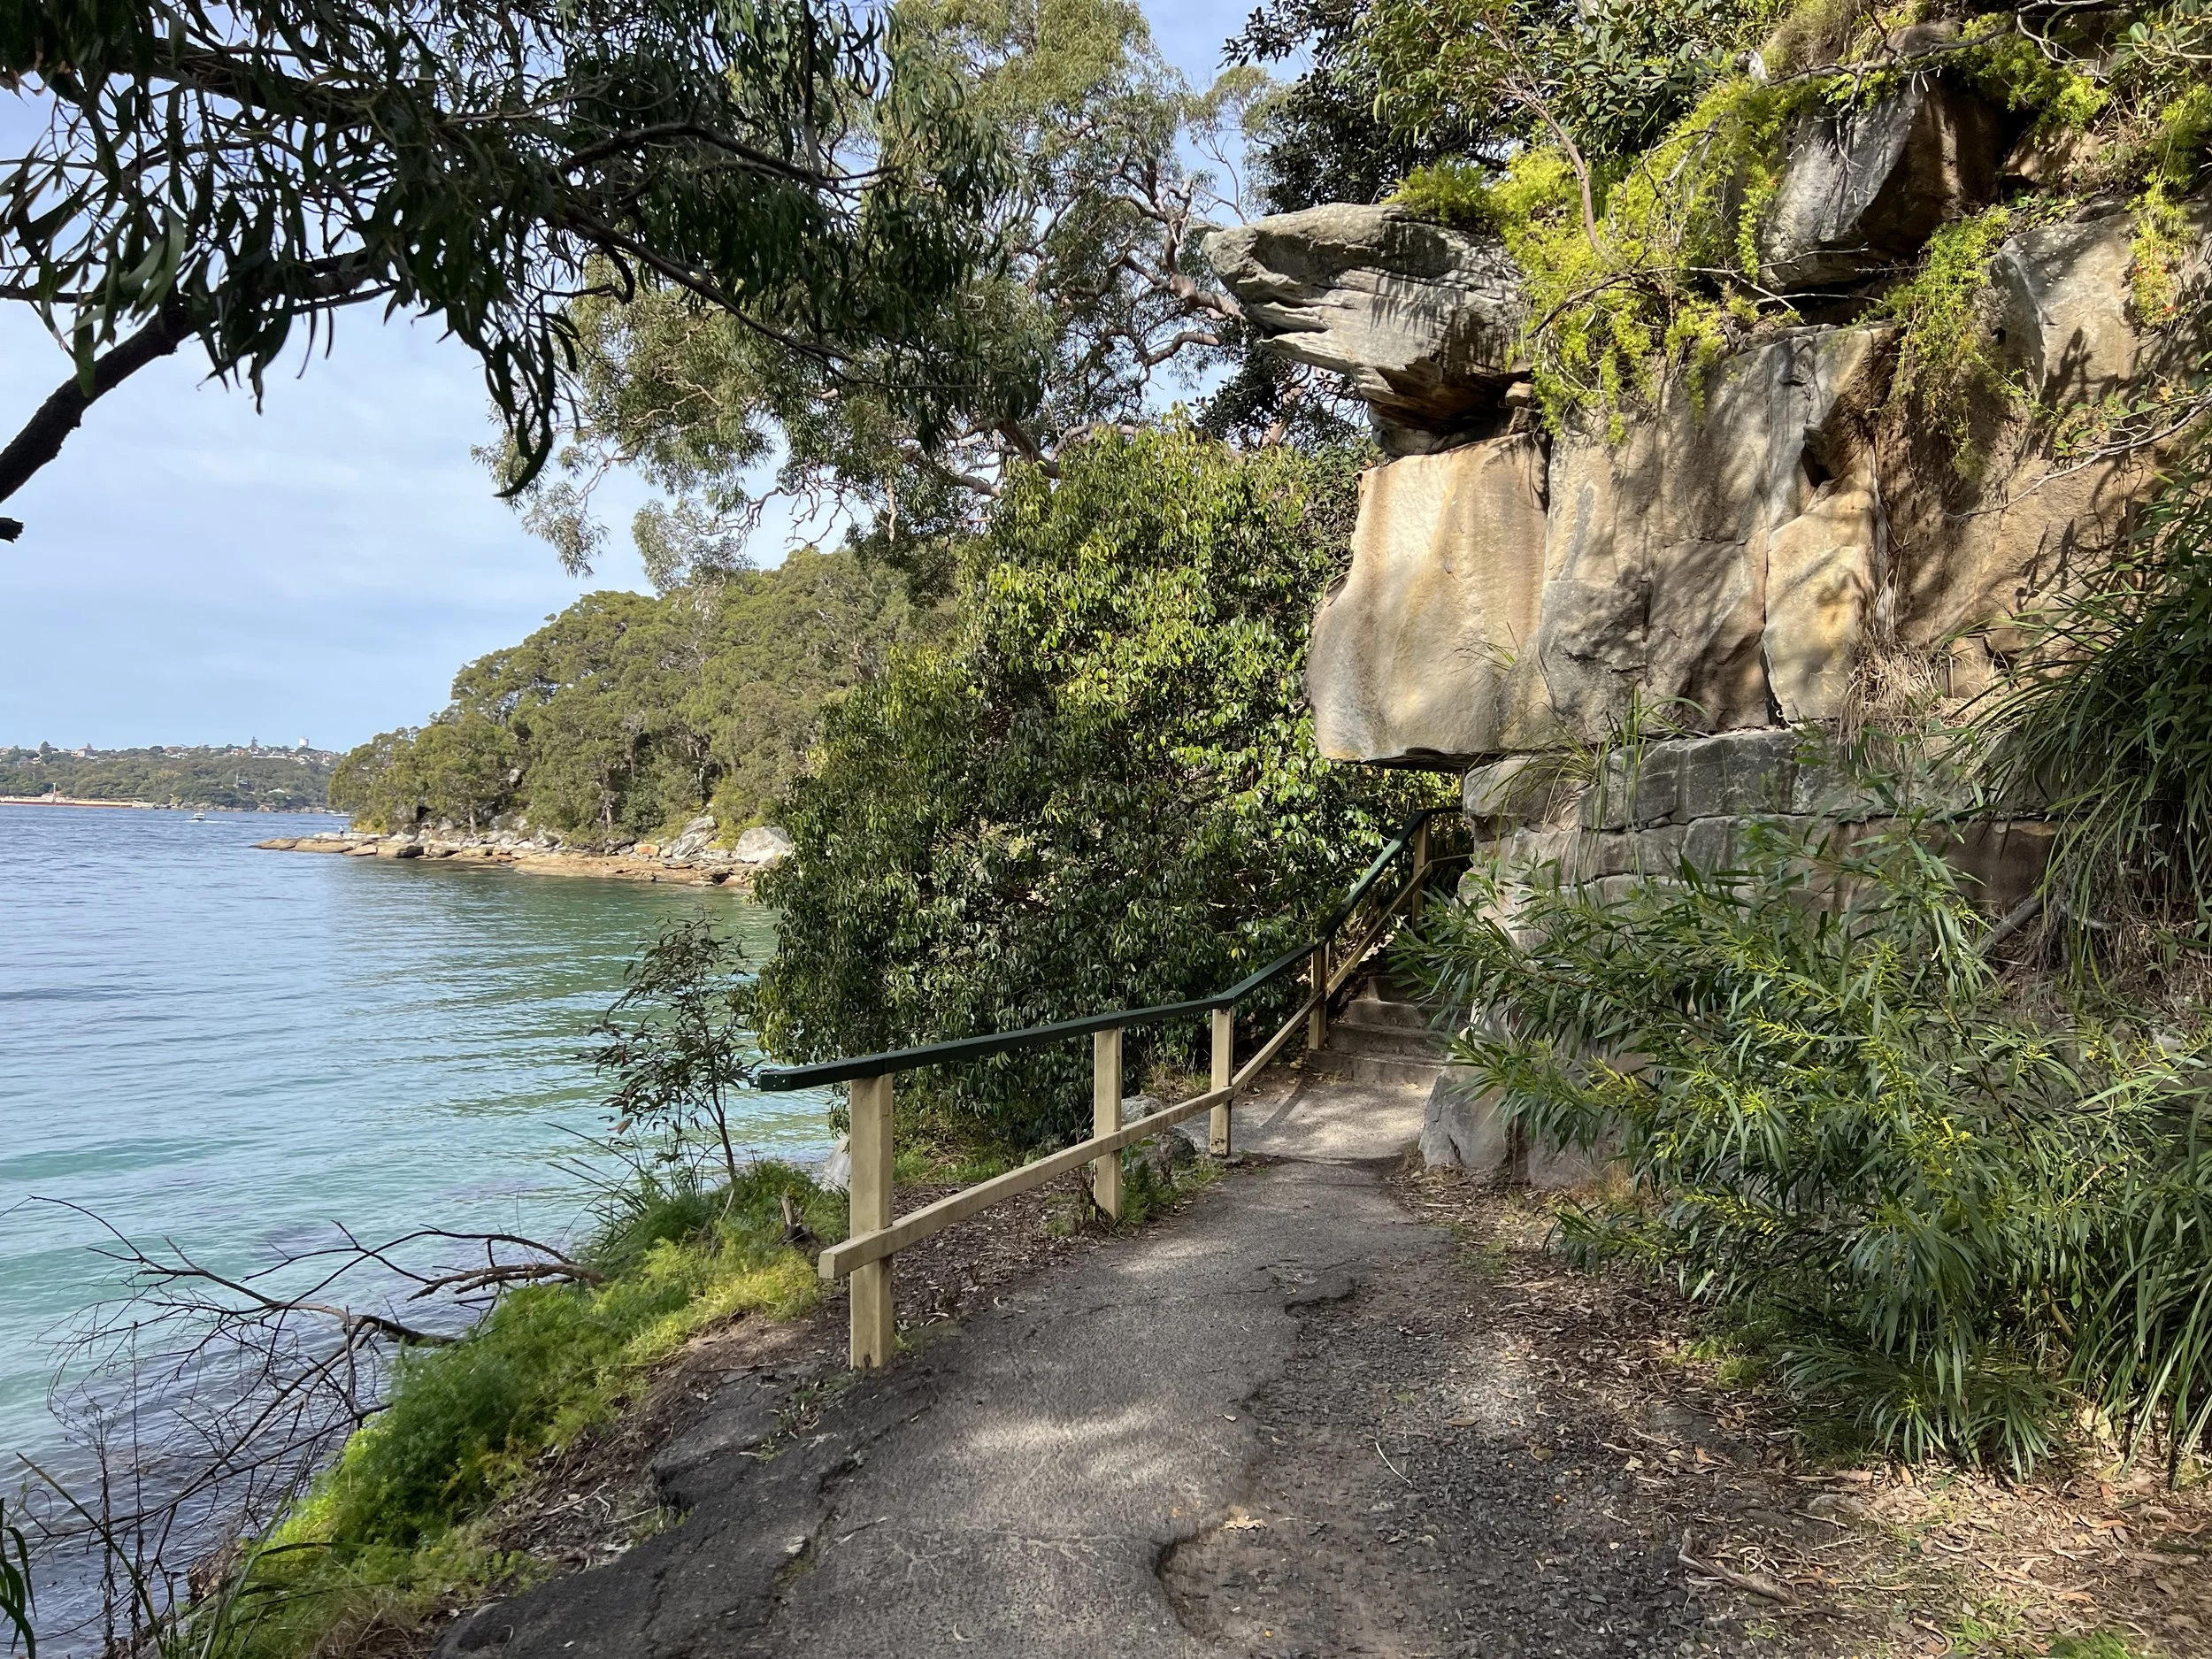
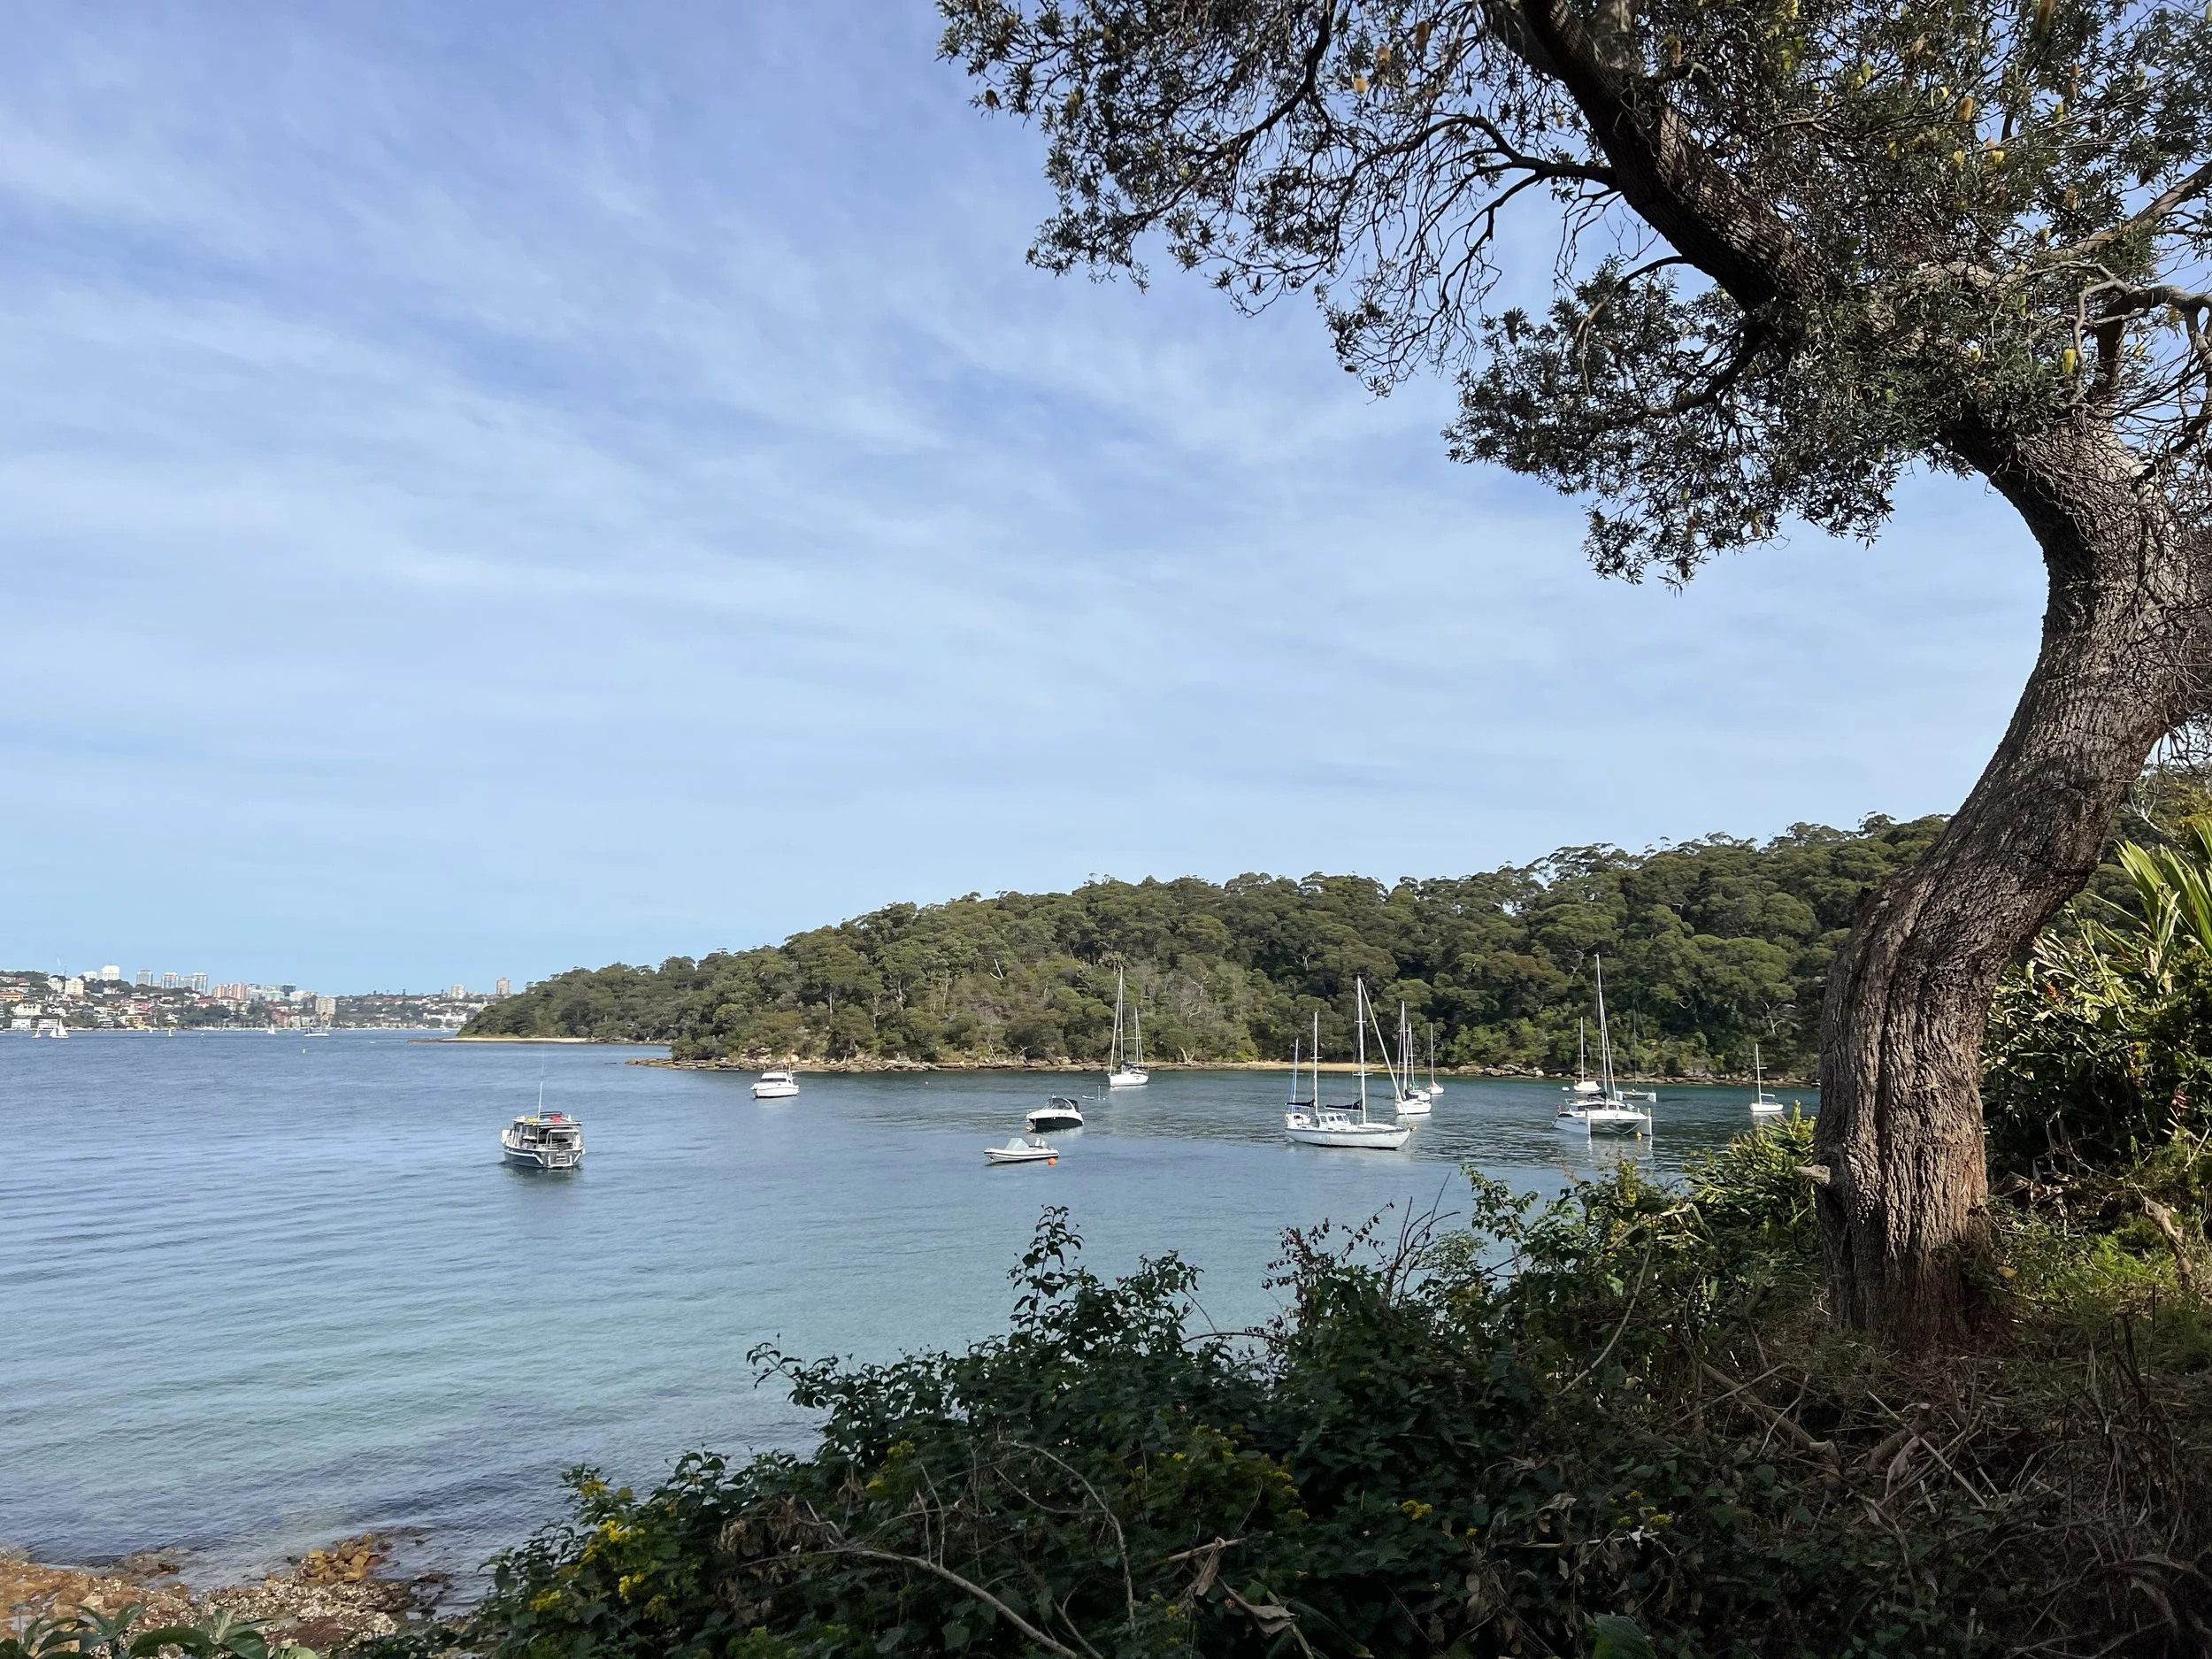
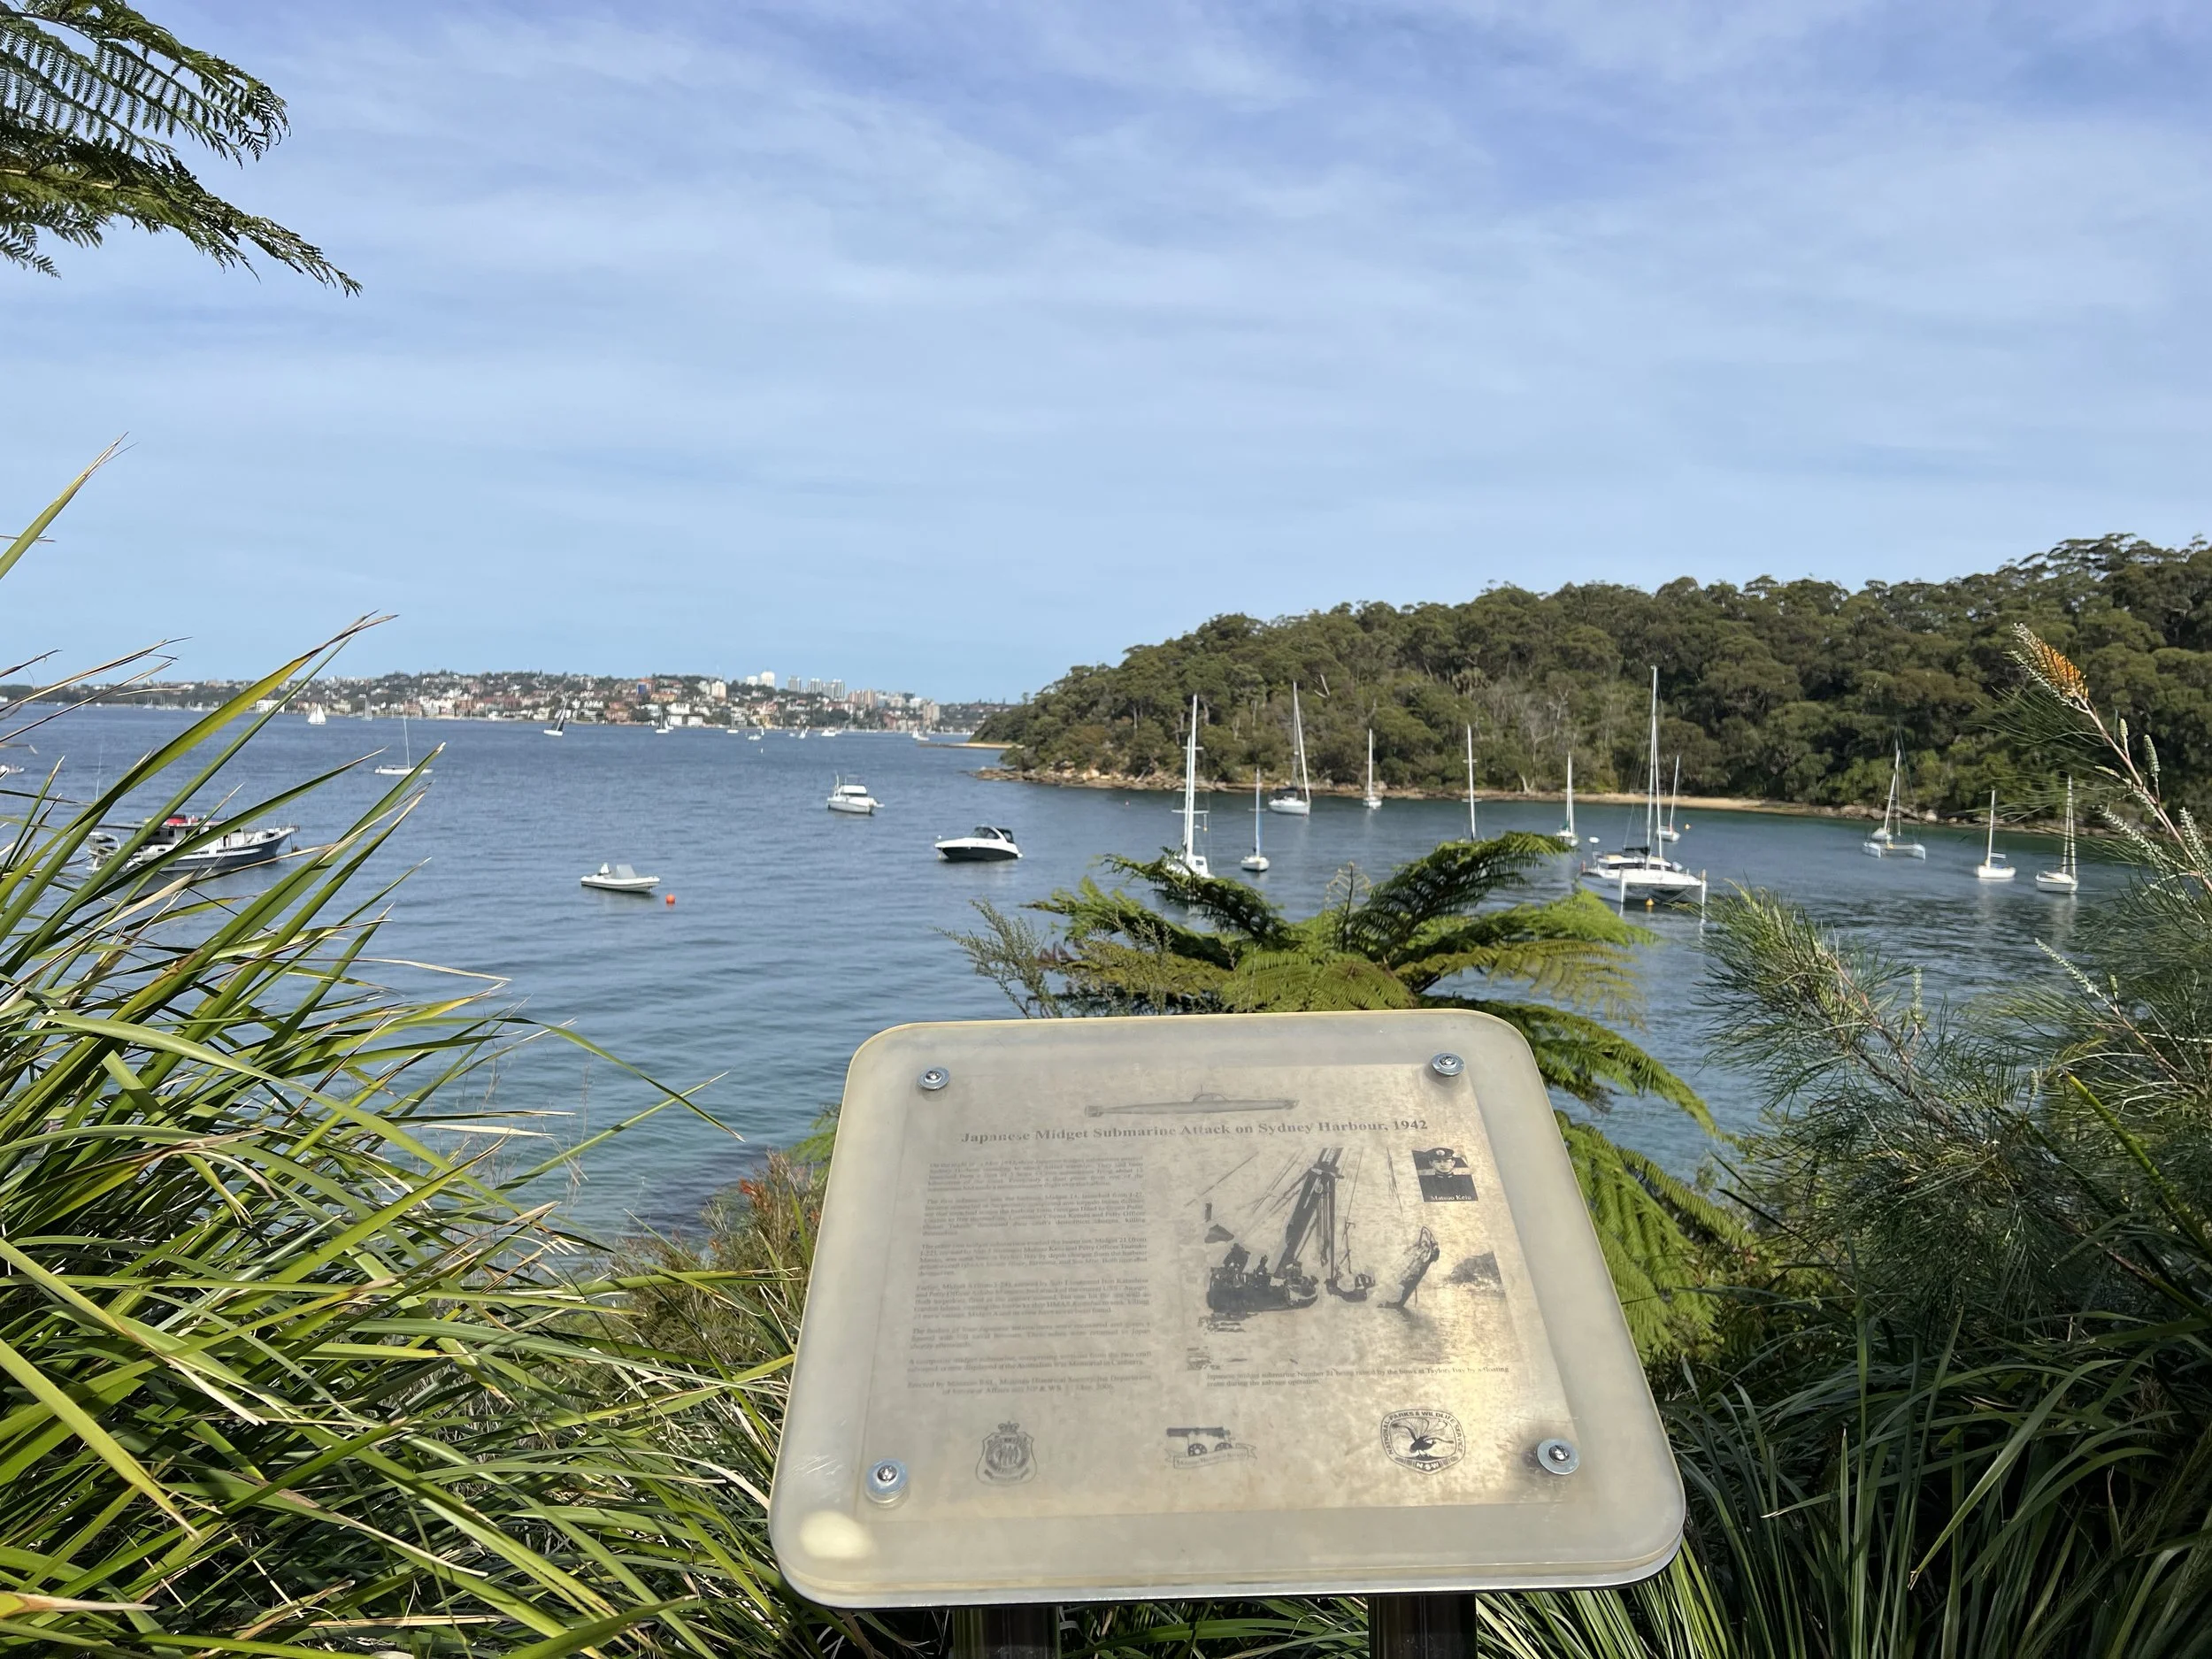
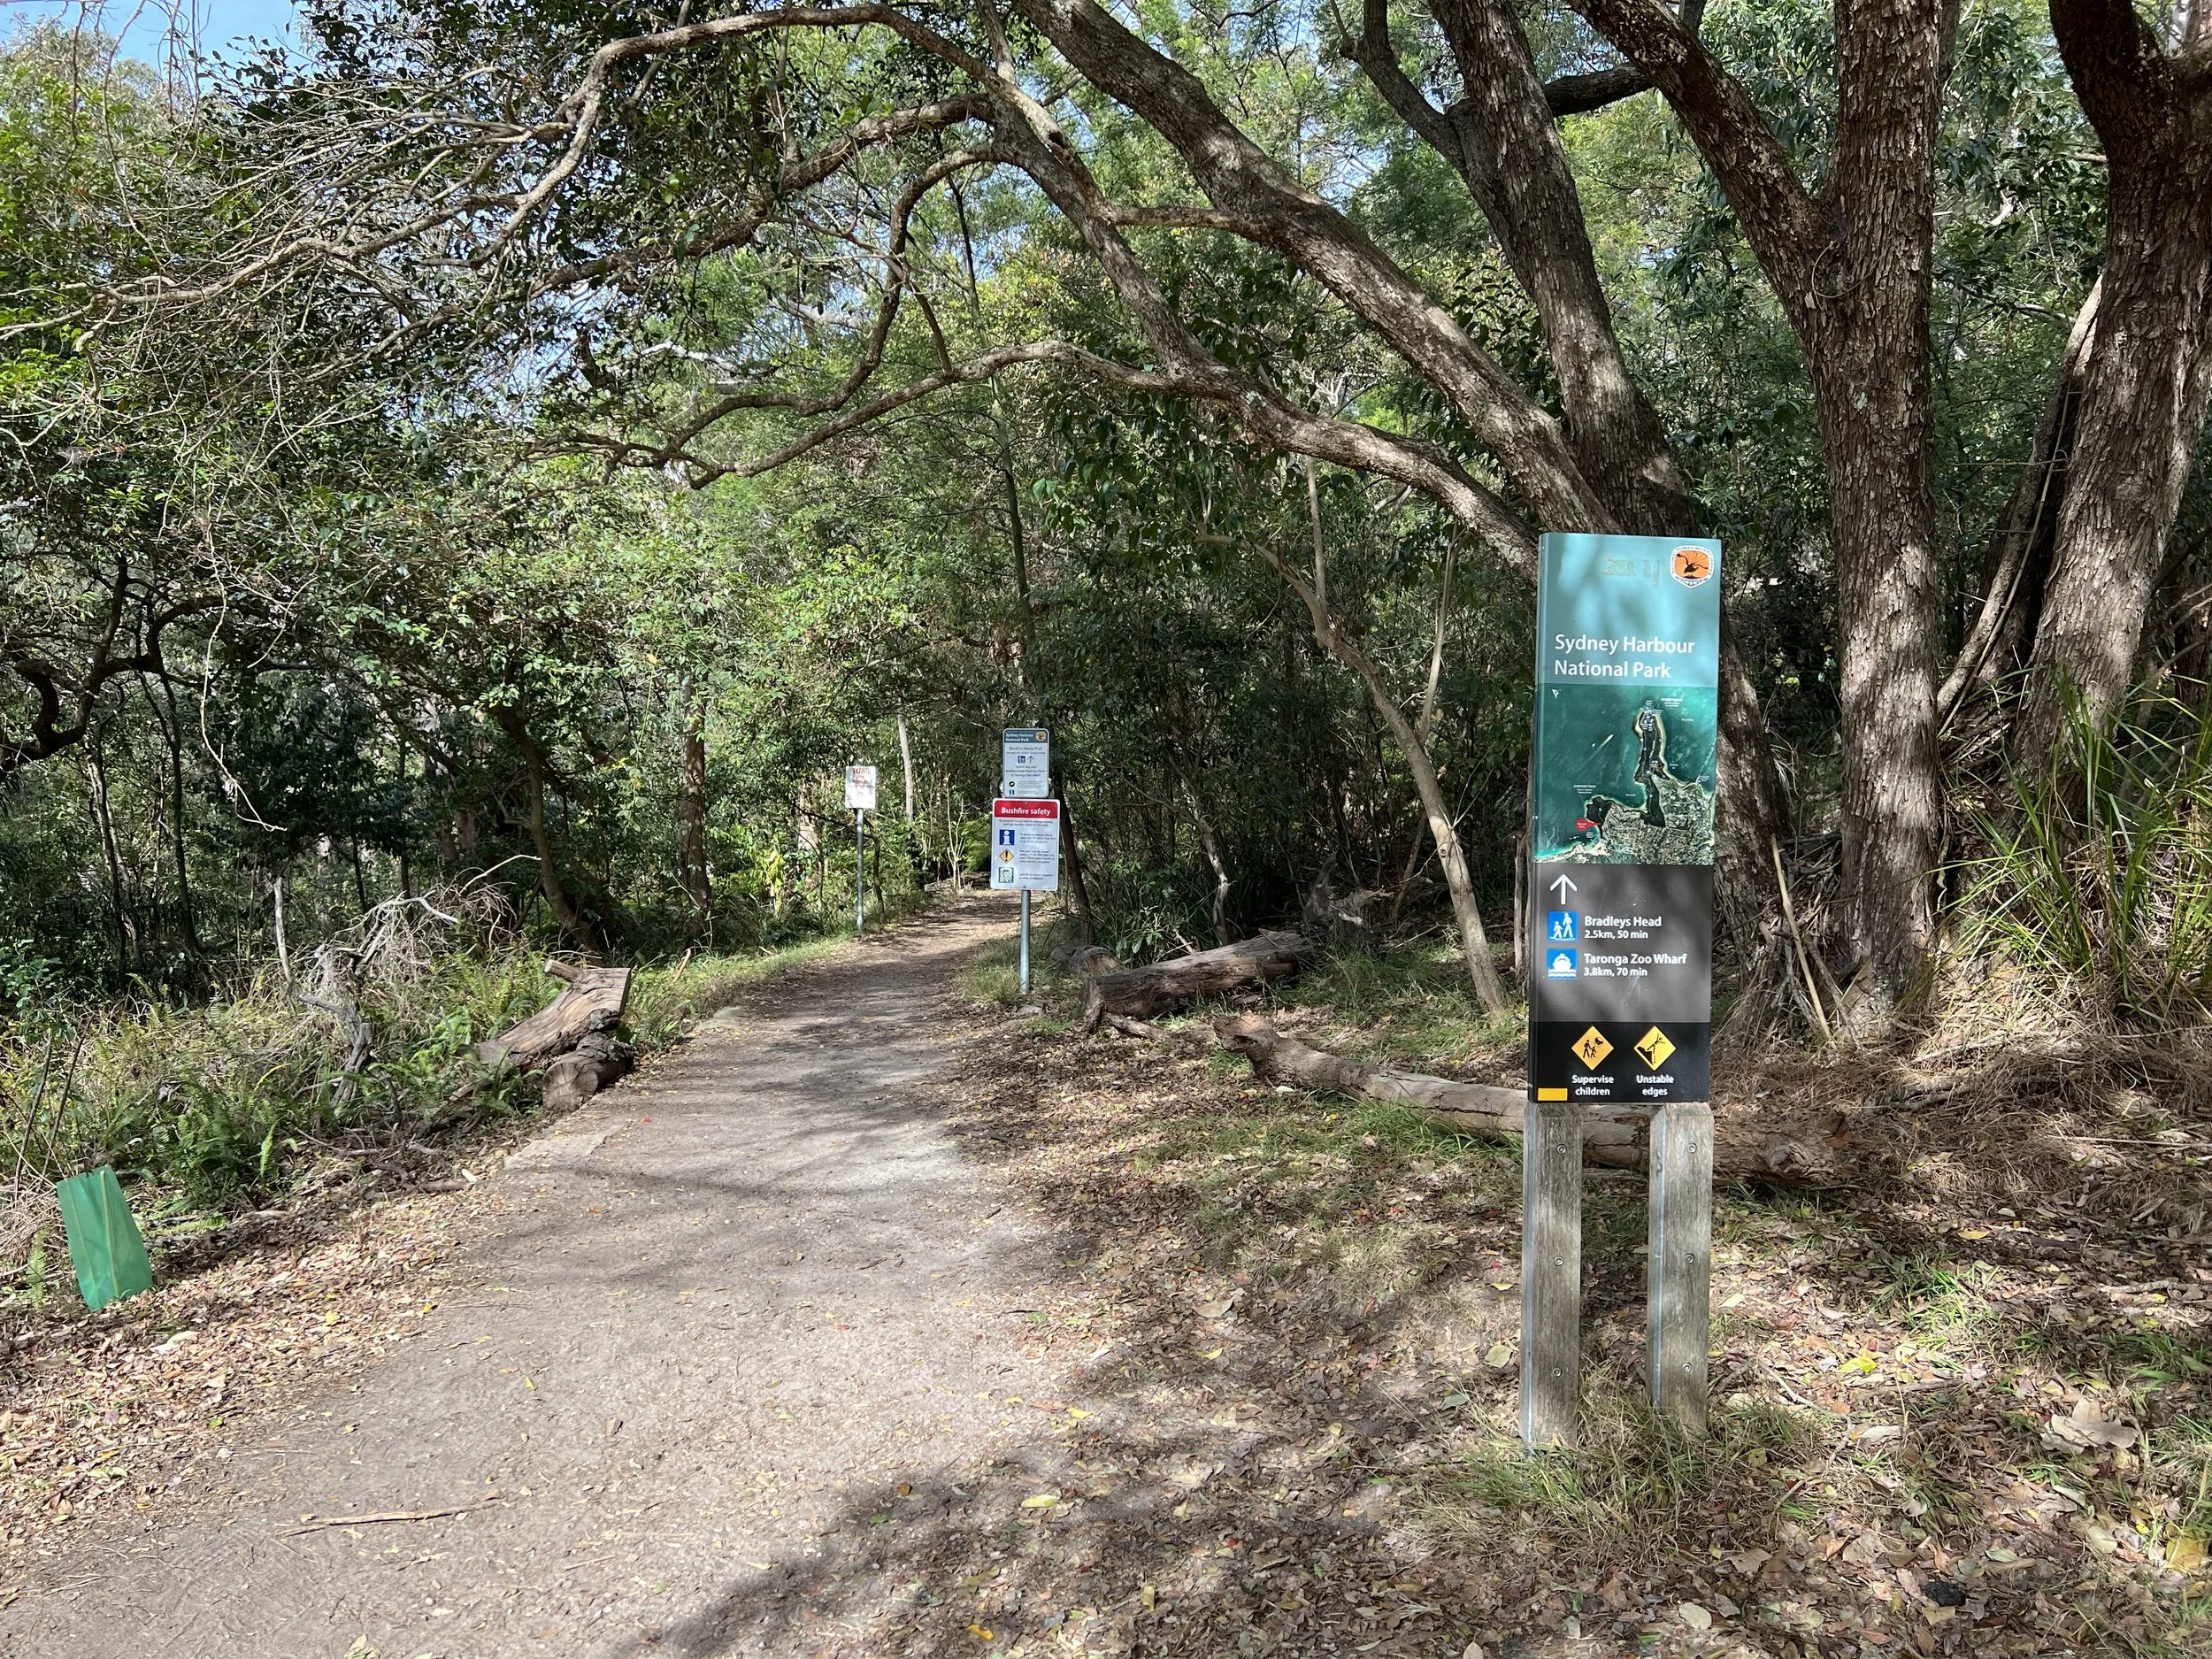
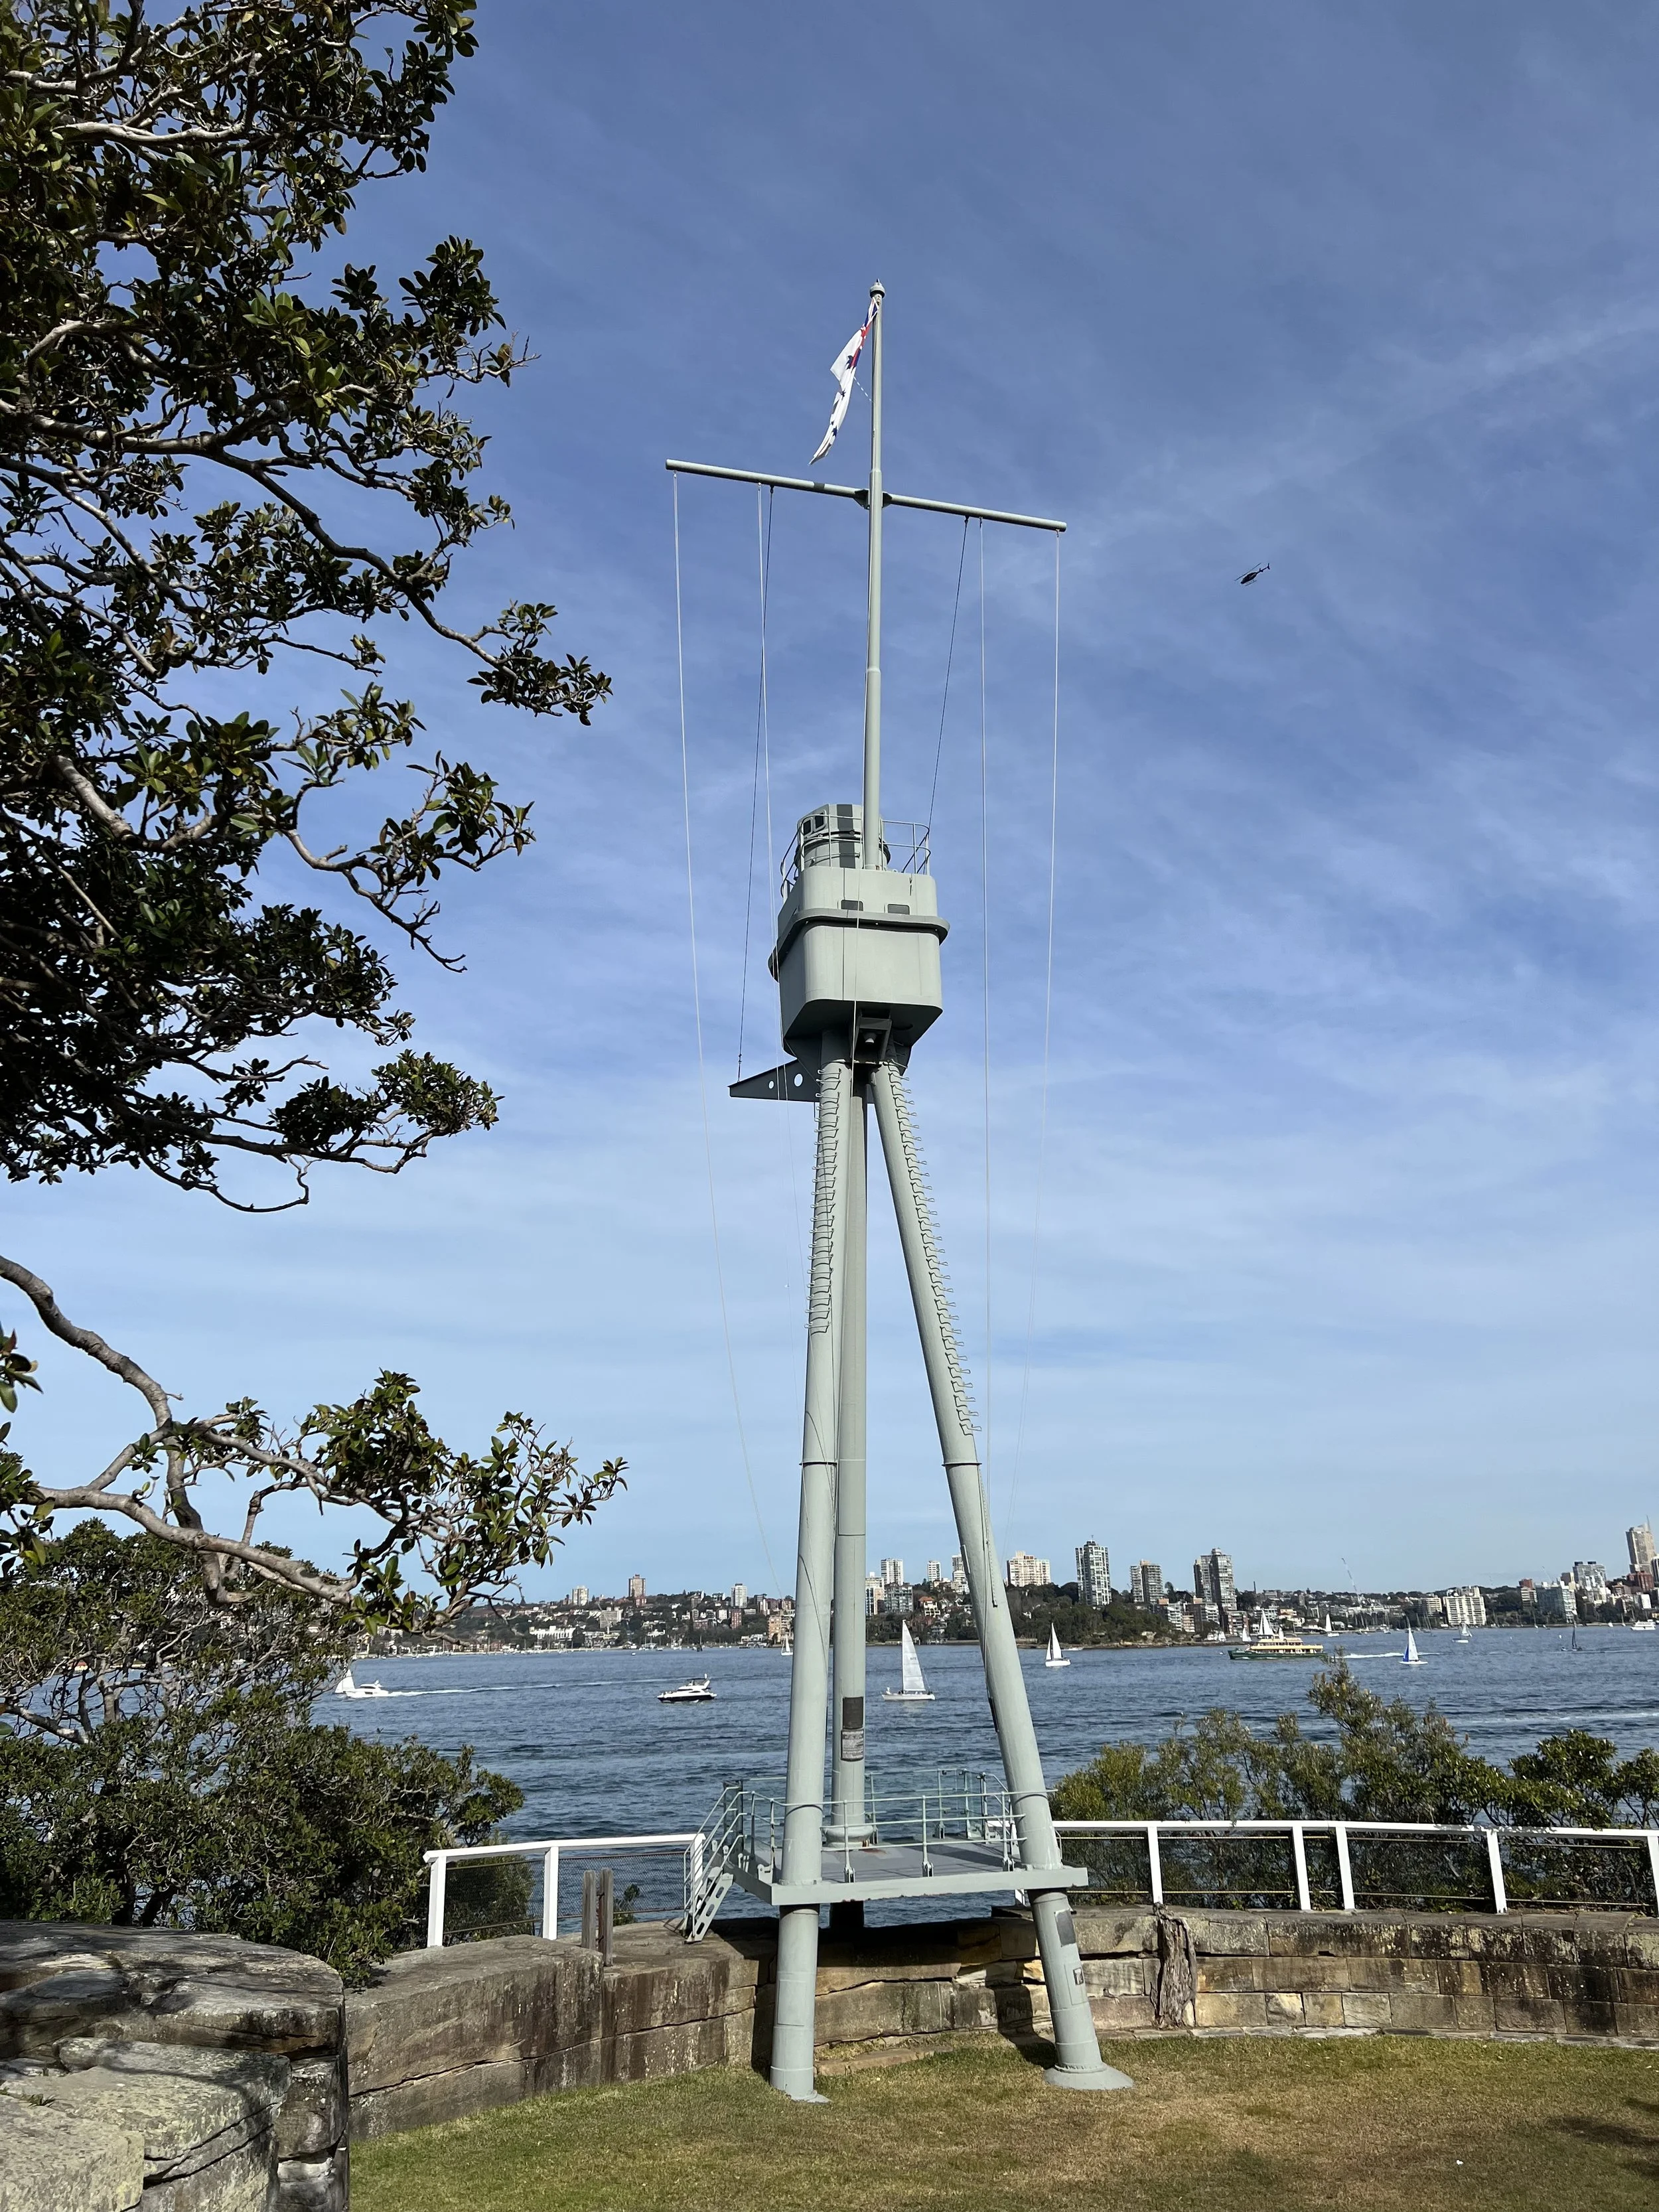
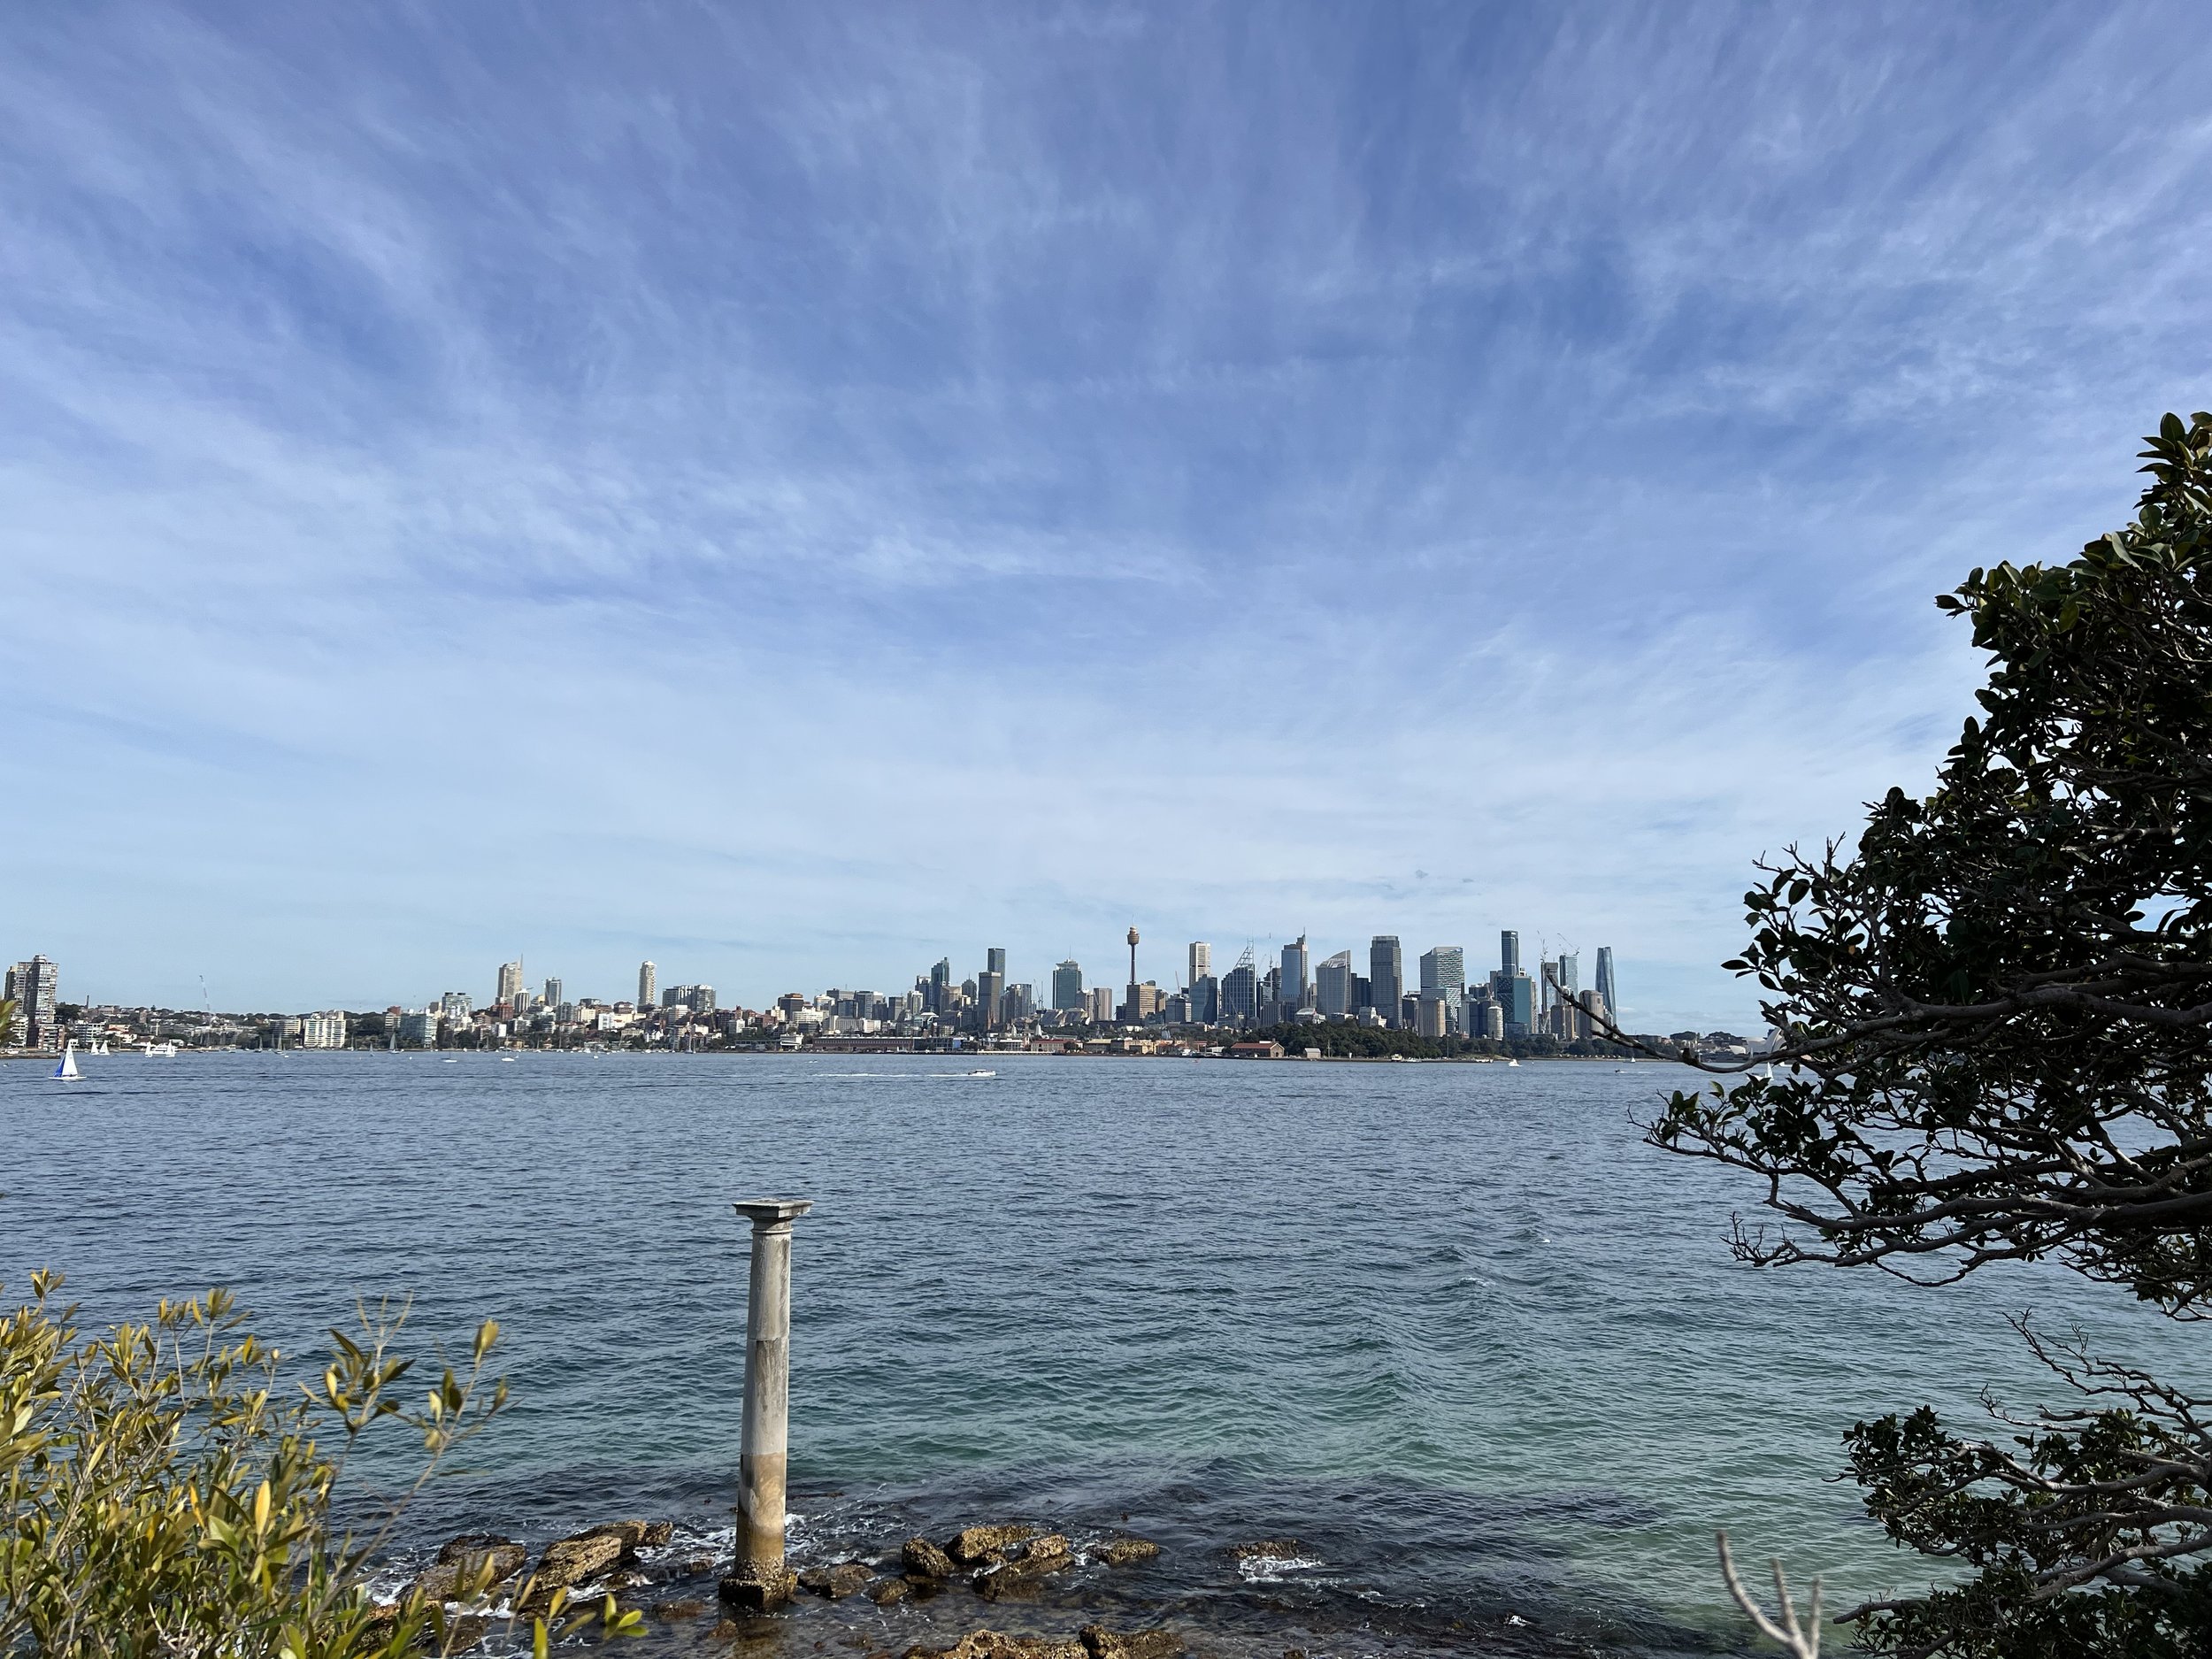
From Chowder Bay to Bradleys Head, the trail winds through shaded bushland with glimpses of the water peeking between the trees. The coastal views were especially beautiful, dotted with small boats drifting across the harbour. This stretch was pleasantly quiet—I didn’t encounter many people—so I took my time reading the interpretive signs along the way. Just before reaching Bradleys Head Amphitheatre, I passed the H.M.A.S. Sydney I Memorial Mast, which commemorates the ship’s victory over the German raider SMS Emden in World War I’s first naval battle.
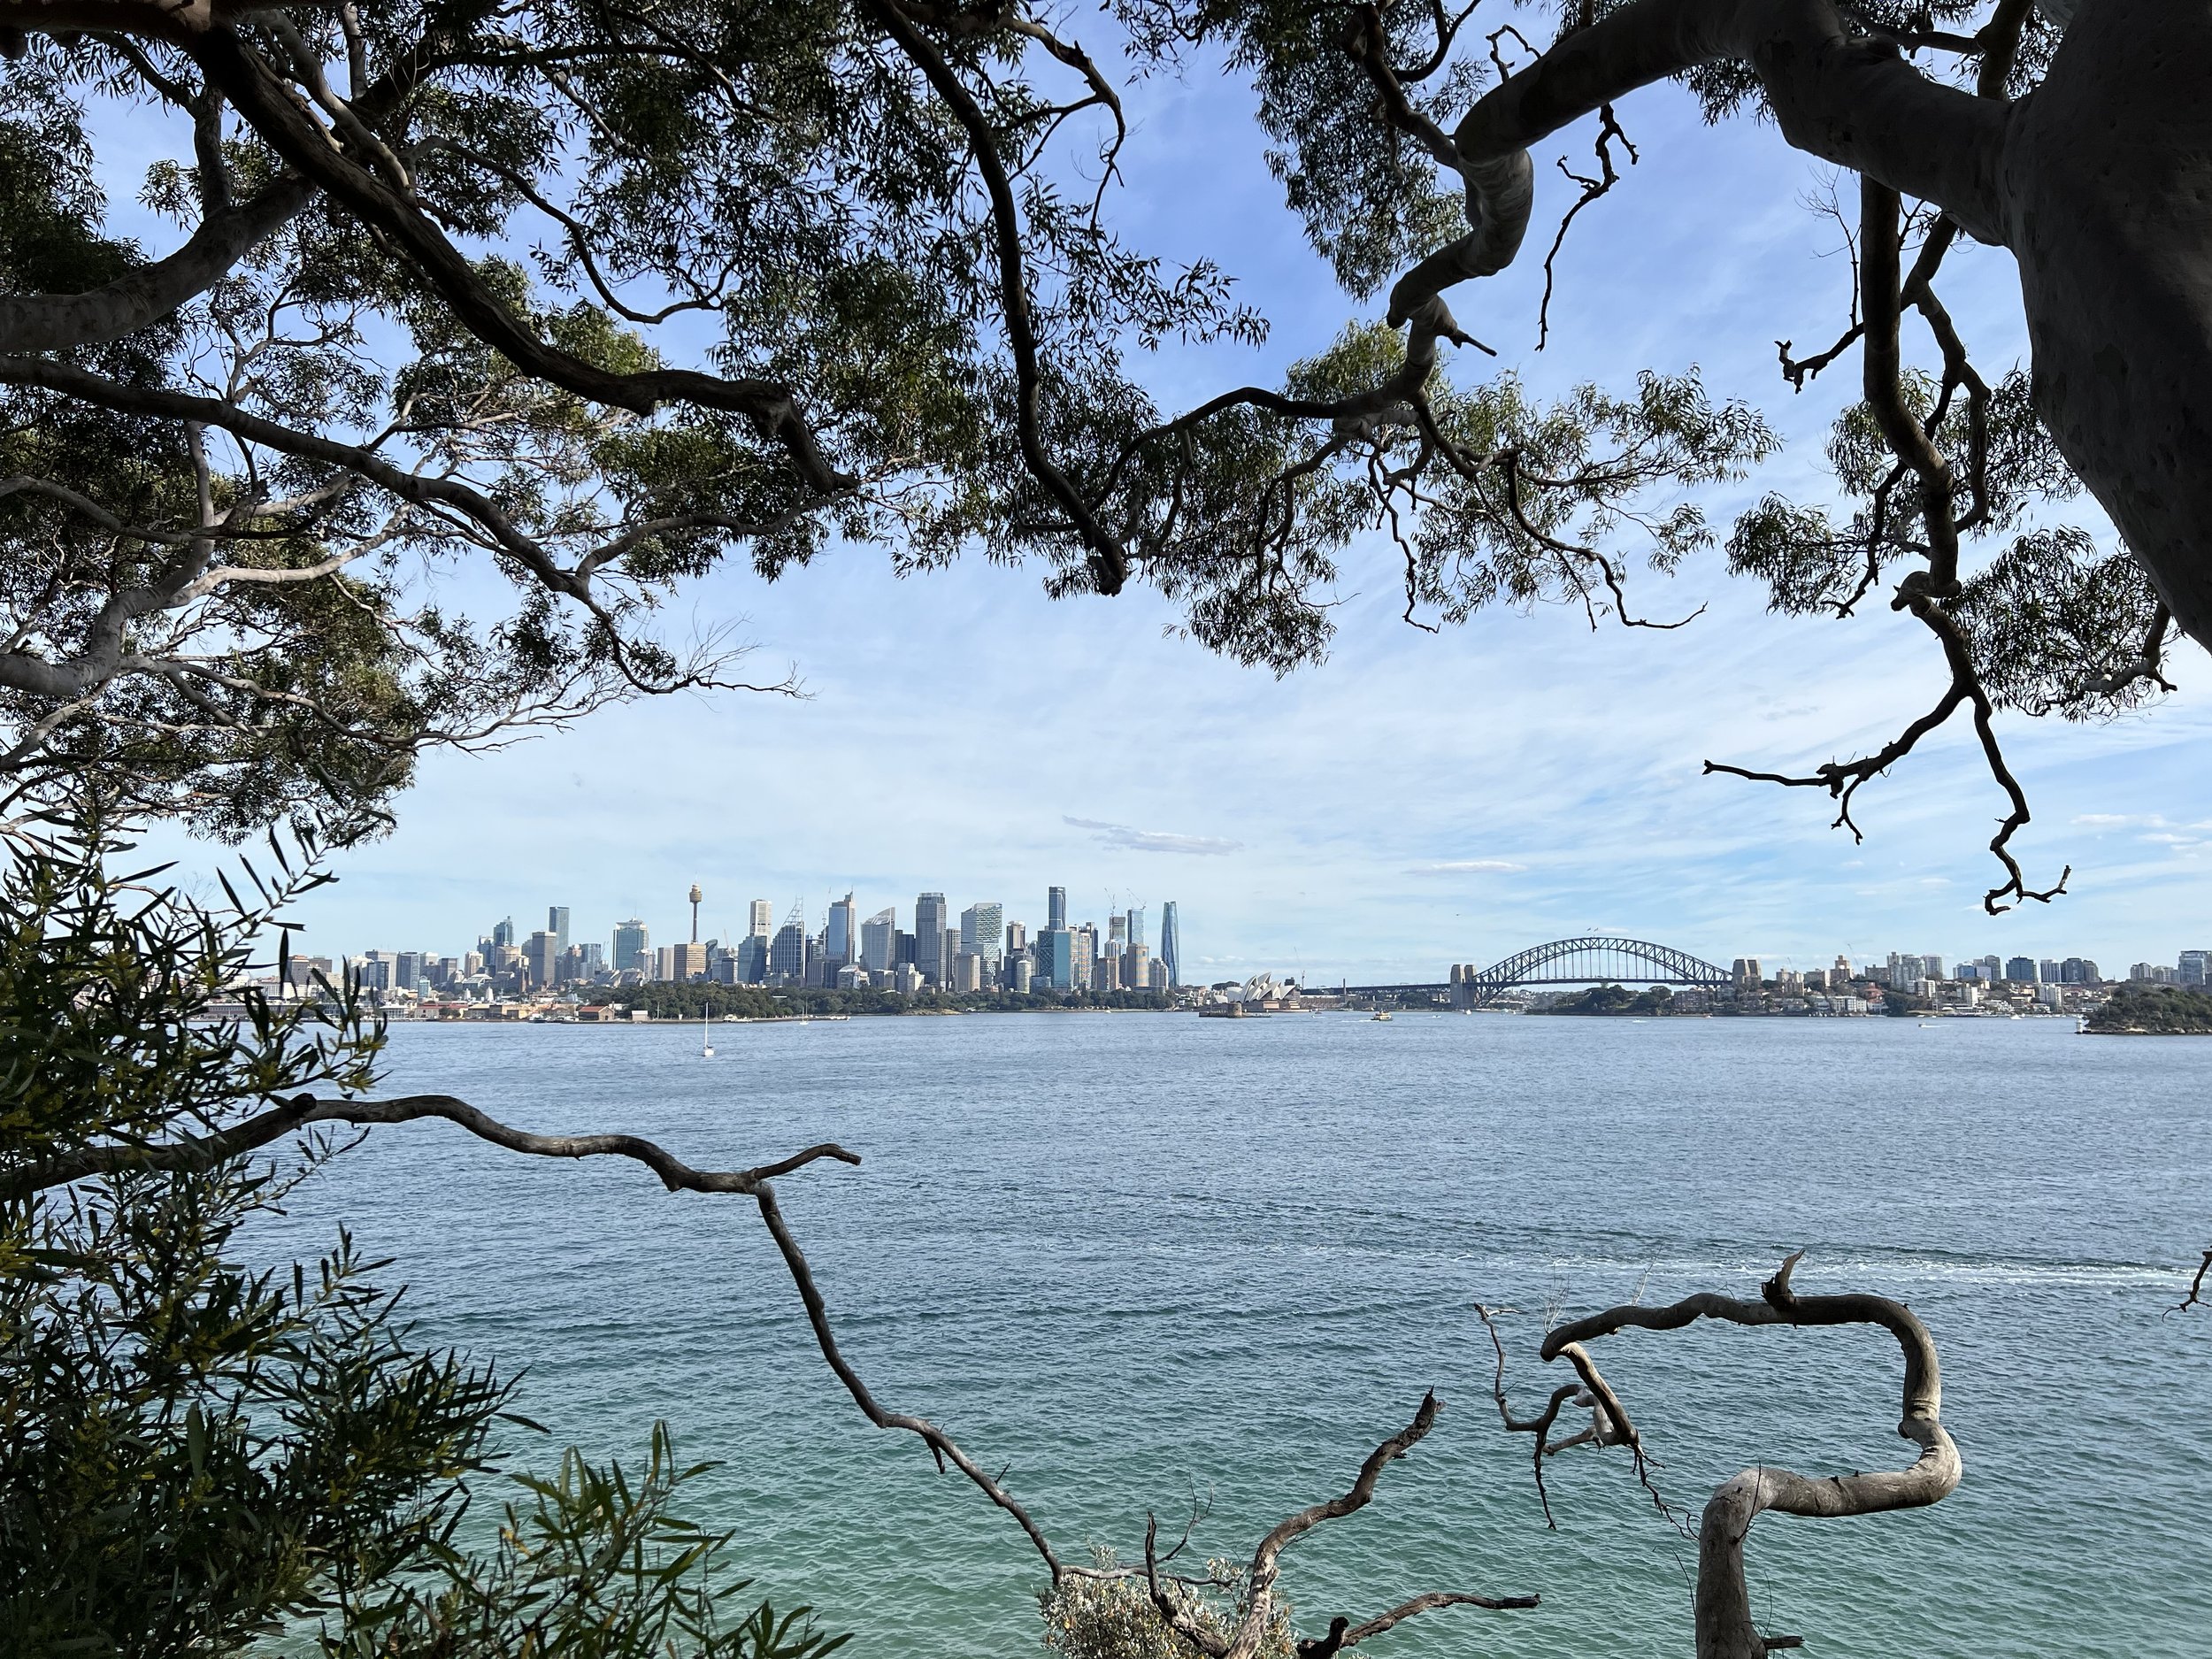
When I arrived at the amphitheatre, I took another short break to enjoy one of the best views of the entire walk: Sydney Harbour, the Harbour Bridge, the Opera House, and the city skyline all layered together in a perfect frame.
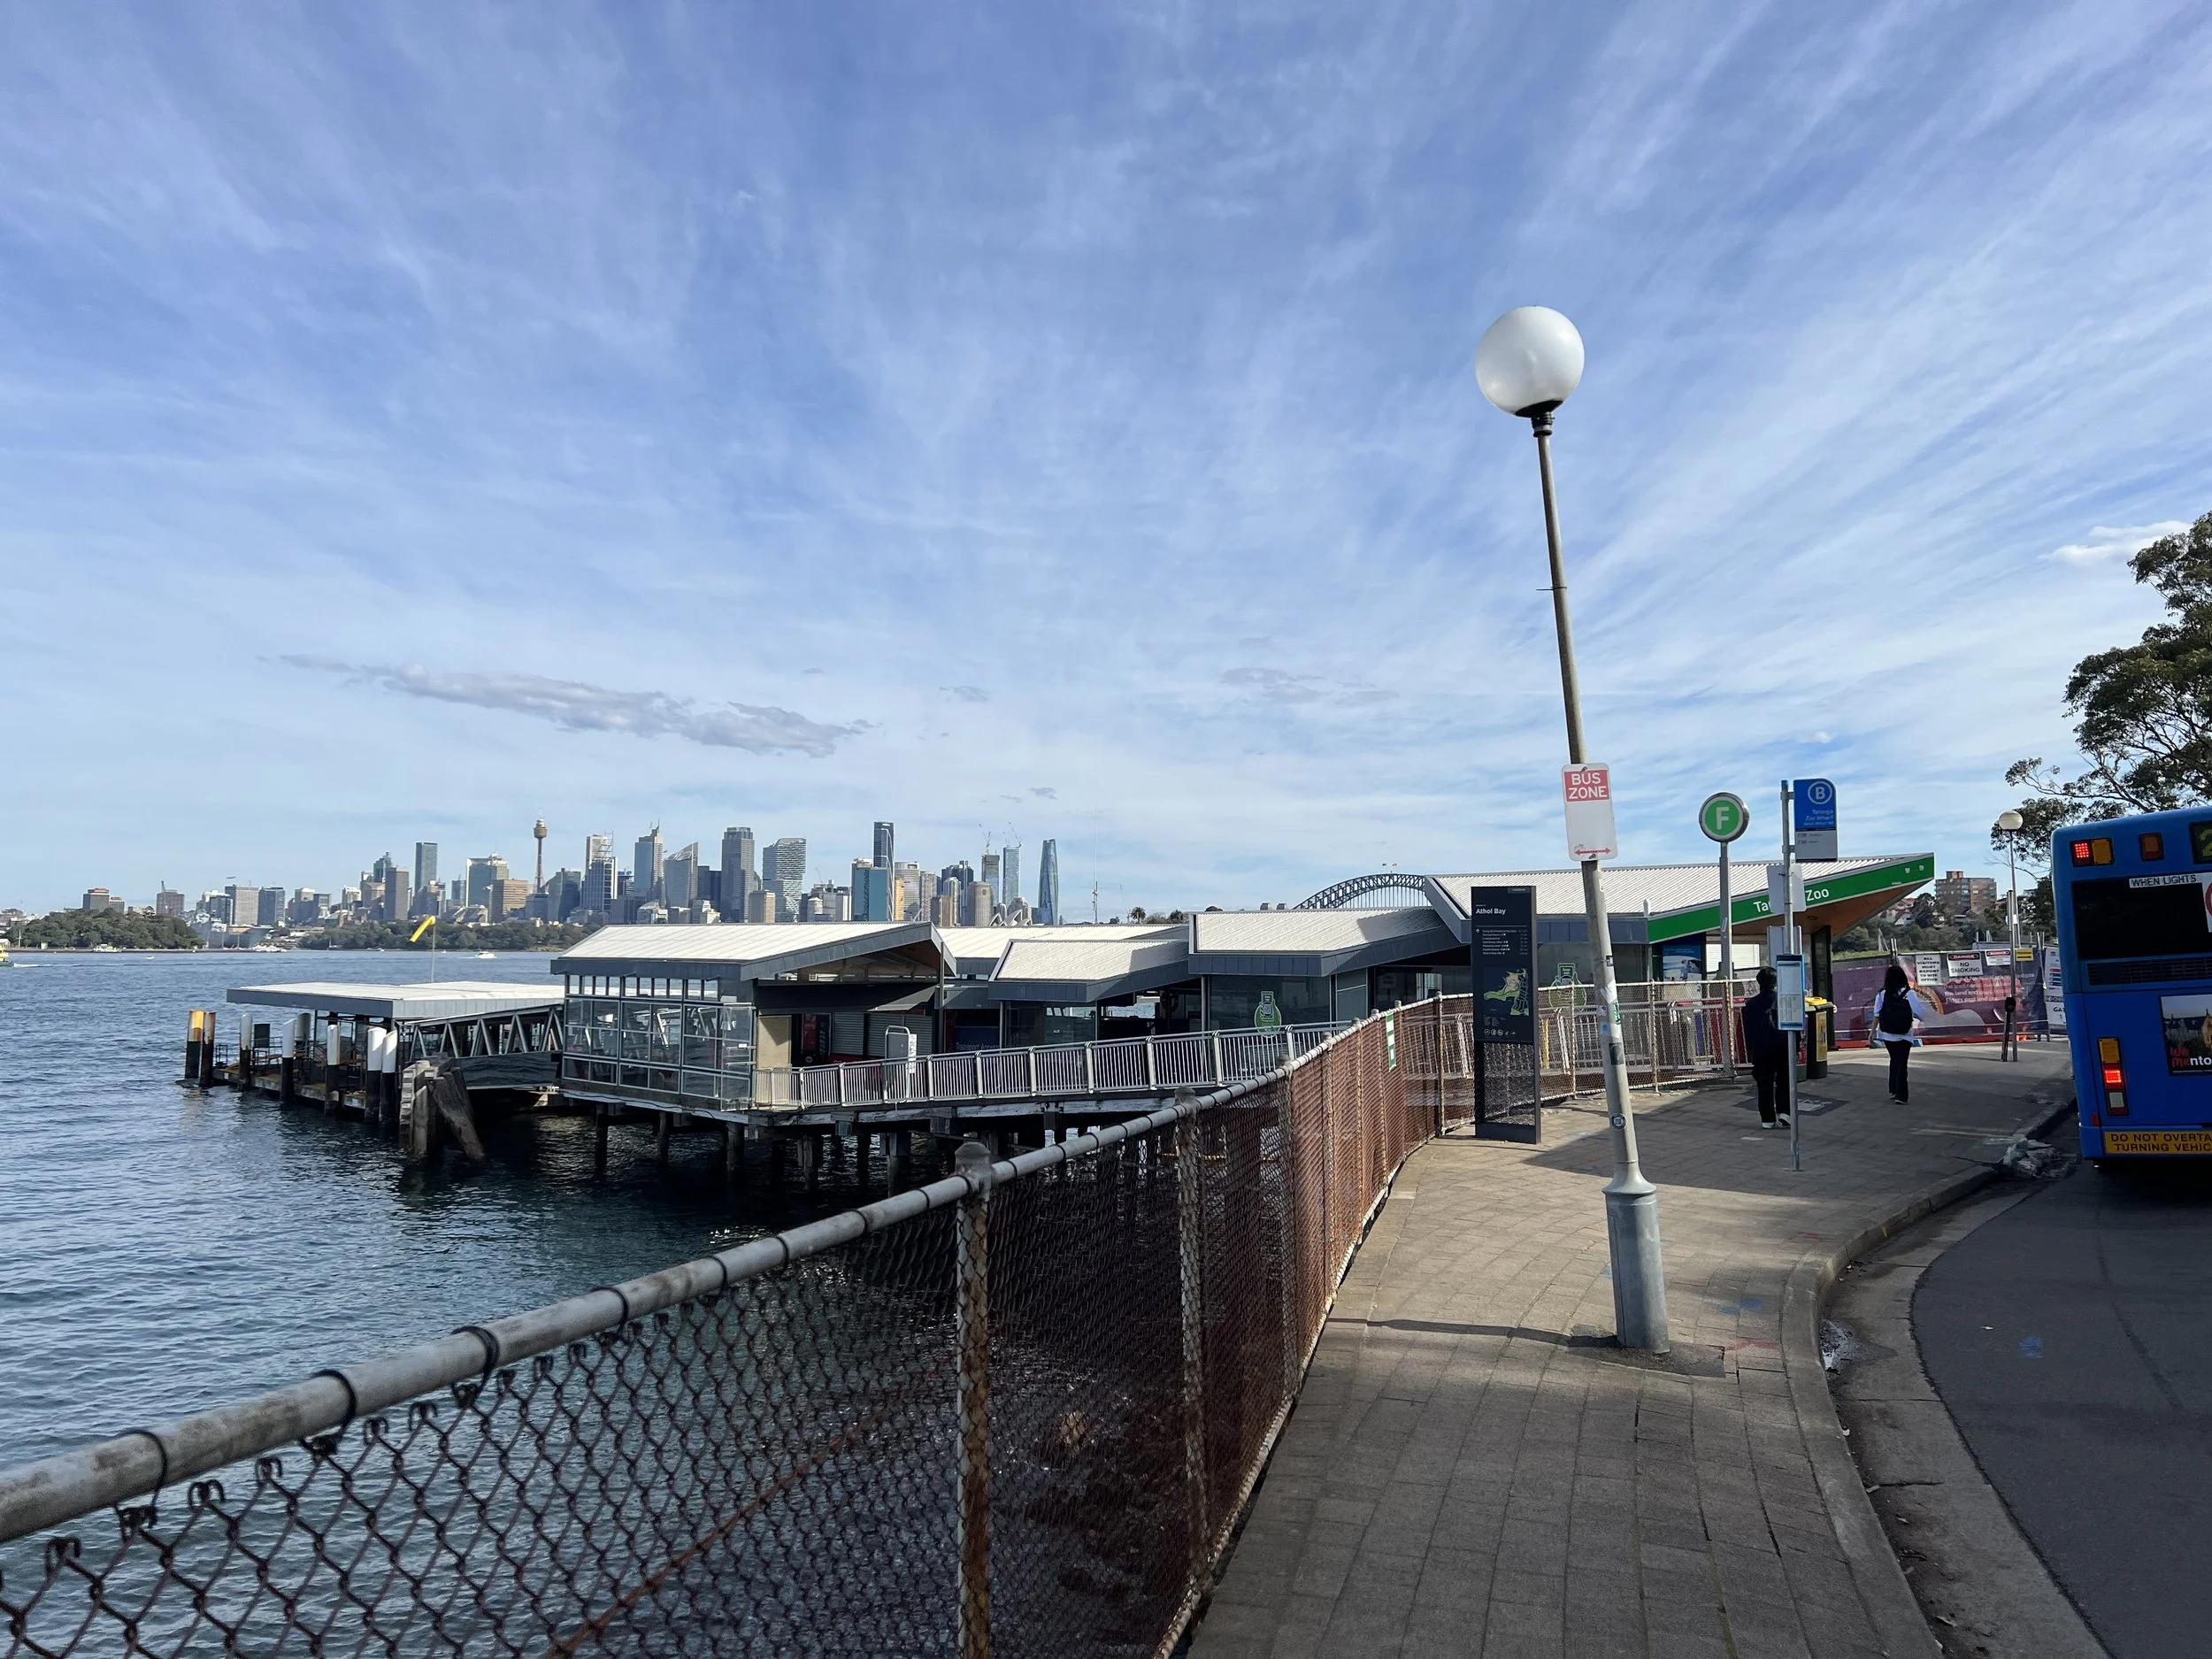
From Bradleys Head, I followed the walking track back toward Taronga Zoo Wharf. I reached the wharf just as a ferry was pulling in—perfect timing—and returned to Circular Quay for a late lunch at a café. It felt like the ideal ending to my final day exploring Sydney Harbour National Park.
History & Background
Middle Head sits between South Head and North Head, forming the central point of the three major headlands in Sydney Harbour National Park. For thousands of years, this area was part of the lands cared for by the Borogegal people, who relied on the harbour’s rich marine life and waterways for food, travel, and cultural practices.
After European settlement, Middle Head became one of Sydney’s most fortified locations. From the early 1800s through both World Wars, the headland developed a network of gun batteries, tunnels, and lookout points designed to defend the harbour. Remnants of sites such as the Outer Middle Head Battery and the Georges Heights complex still line the cliffs today.
Now part of a protected heritage landscape, Middle Head offers restored military structures, pockets of regenerated bushland, and sweeping views across the water to South Head and North Head. Visitors can explore historic fortifications while enjoying the coastal scenery that defines this part of the harbour.
Getting There
Reaching Middle Head is straightforward using public transit. I began at Museum Station and took the train to Circular Quay, where I transferred onto the ferry toward Taronga Zoo Wharf. From the wharf, buses run directly to Balmoral Beach, which is where I decided to start my walk. Travelling this way creates a smooth, seamless loop back to Taronga Zoo Wharf at the end of the route, making it convenient for anyone relying on transit.
Route Overview
Distance: 10.01 km out & back (Balmoral Beach → Taronga Zoo Wharf)
Total elevation gain: 156 m
Duration: 1 hr 37 min (with breaks 1 hr 45 min)
Difficulty: Easy
Cost Breakdown
Train: Museum Station → Circular Quay Station — AU$4.33
Ferry: Circular Quay → Taronga Zoo Wharf — AU$5.35
Bus: Taronga Zoo Wharf → Balmoral Beach — AU$3.3
Food: AU$26.3